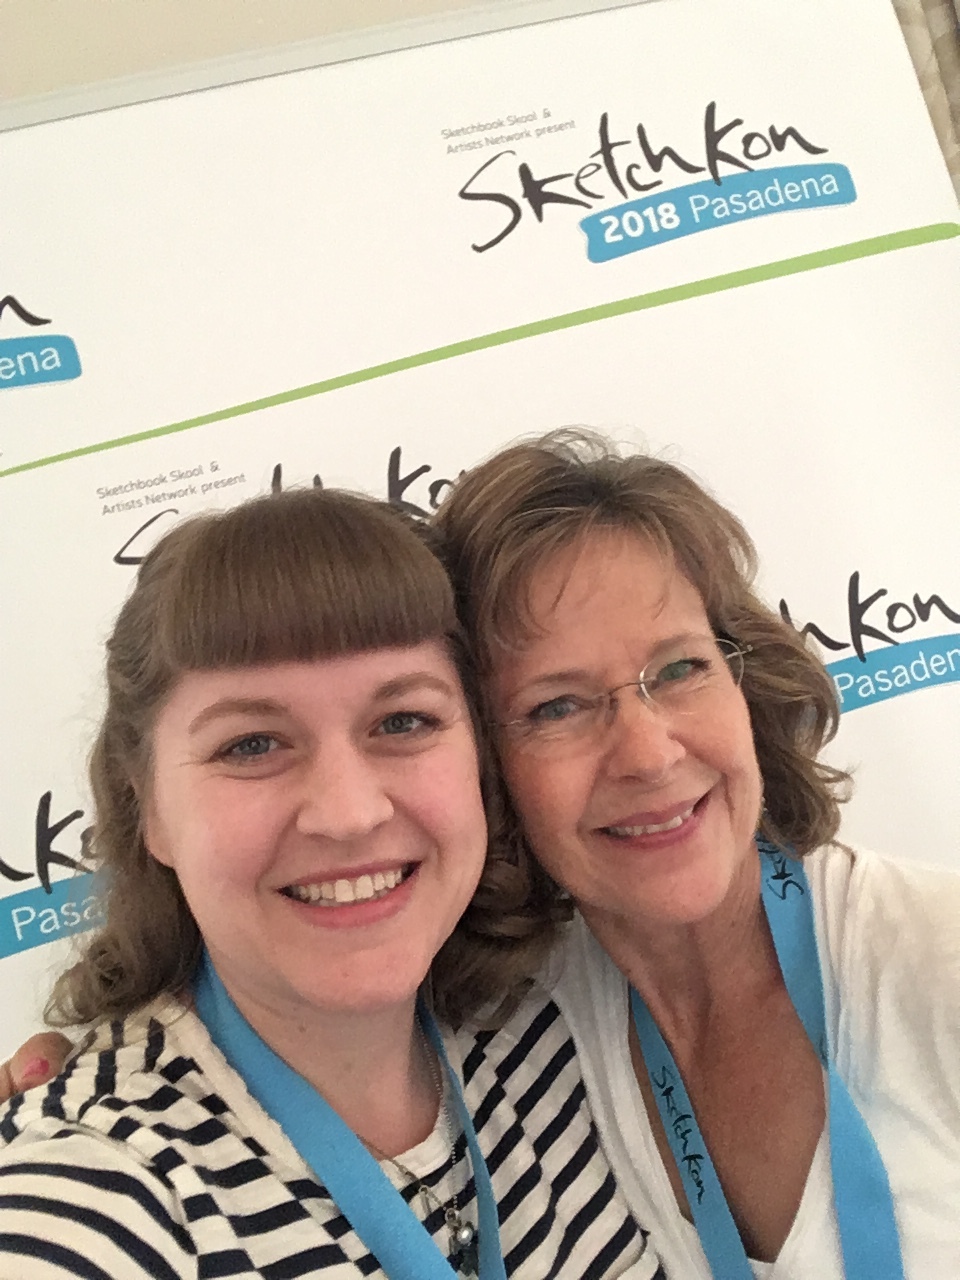
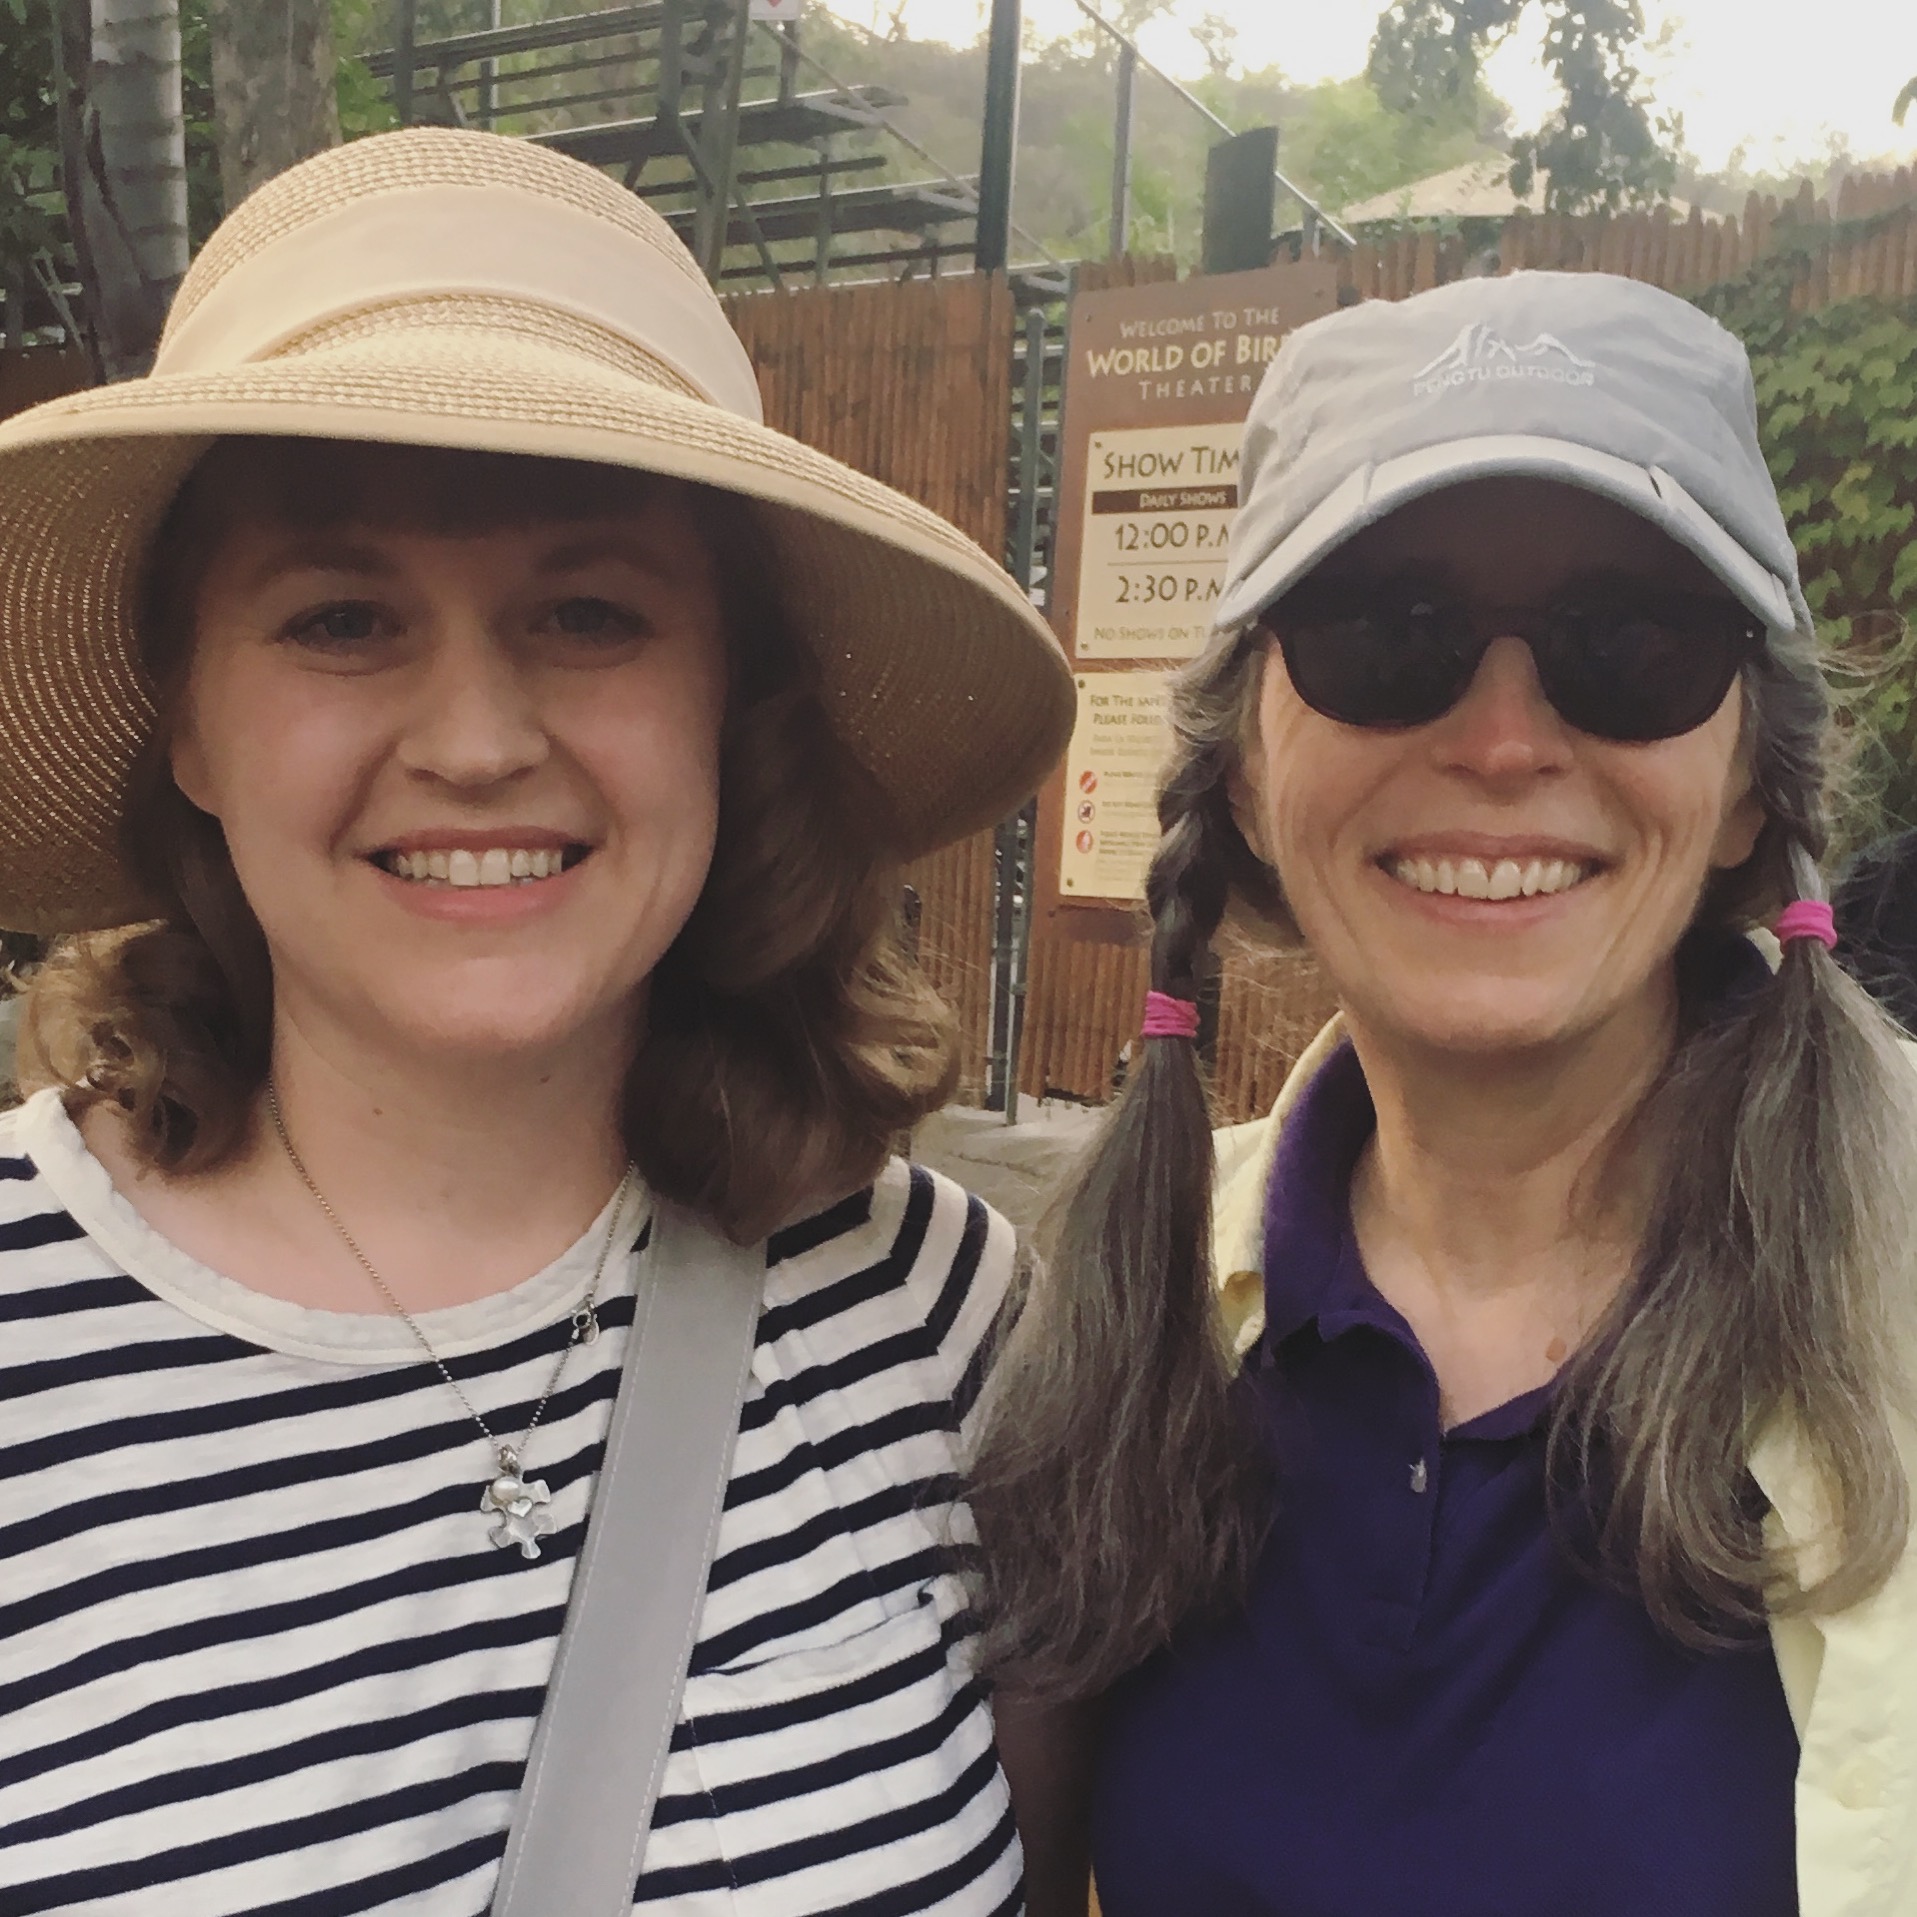
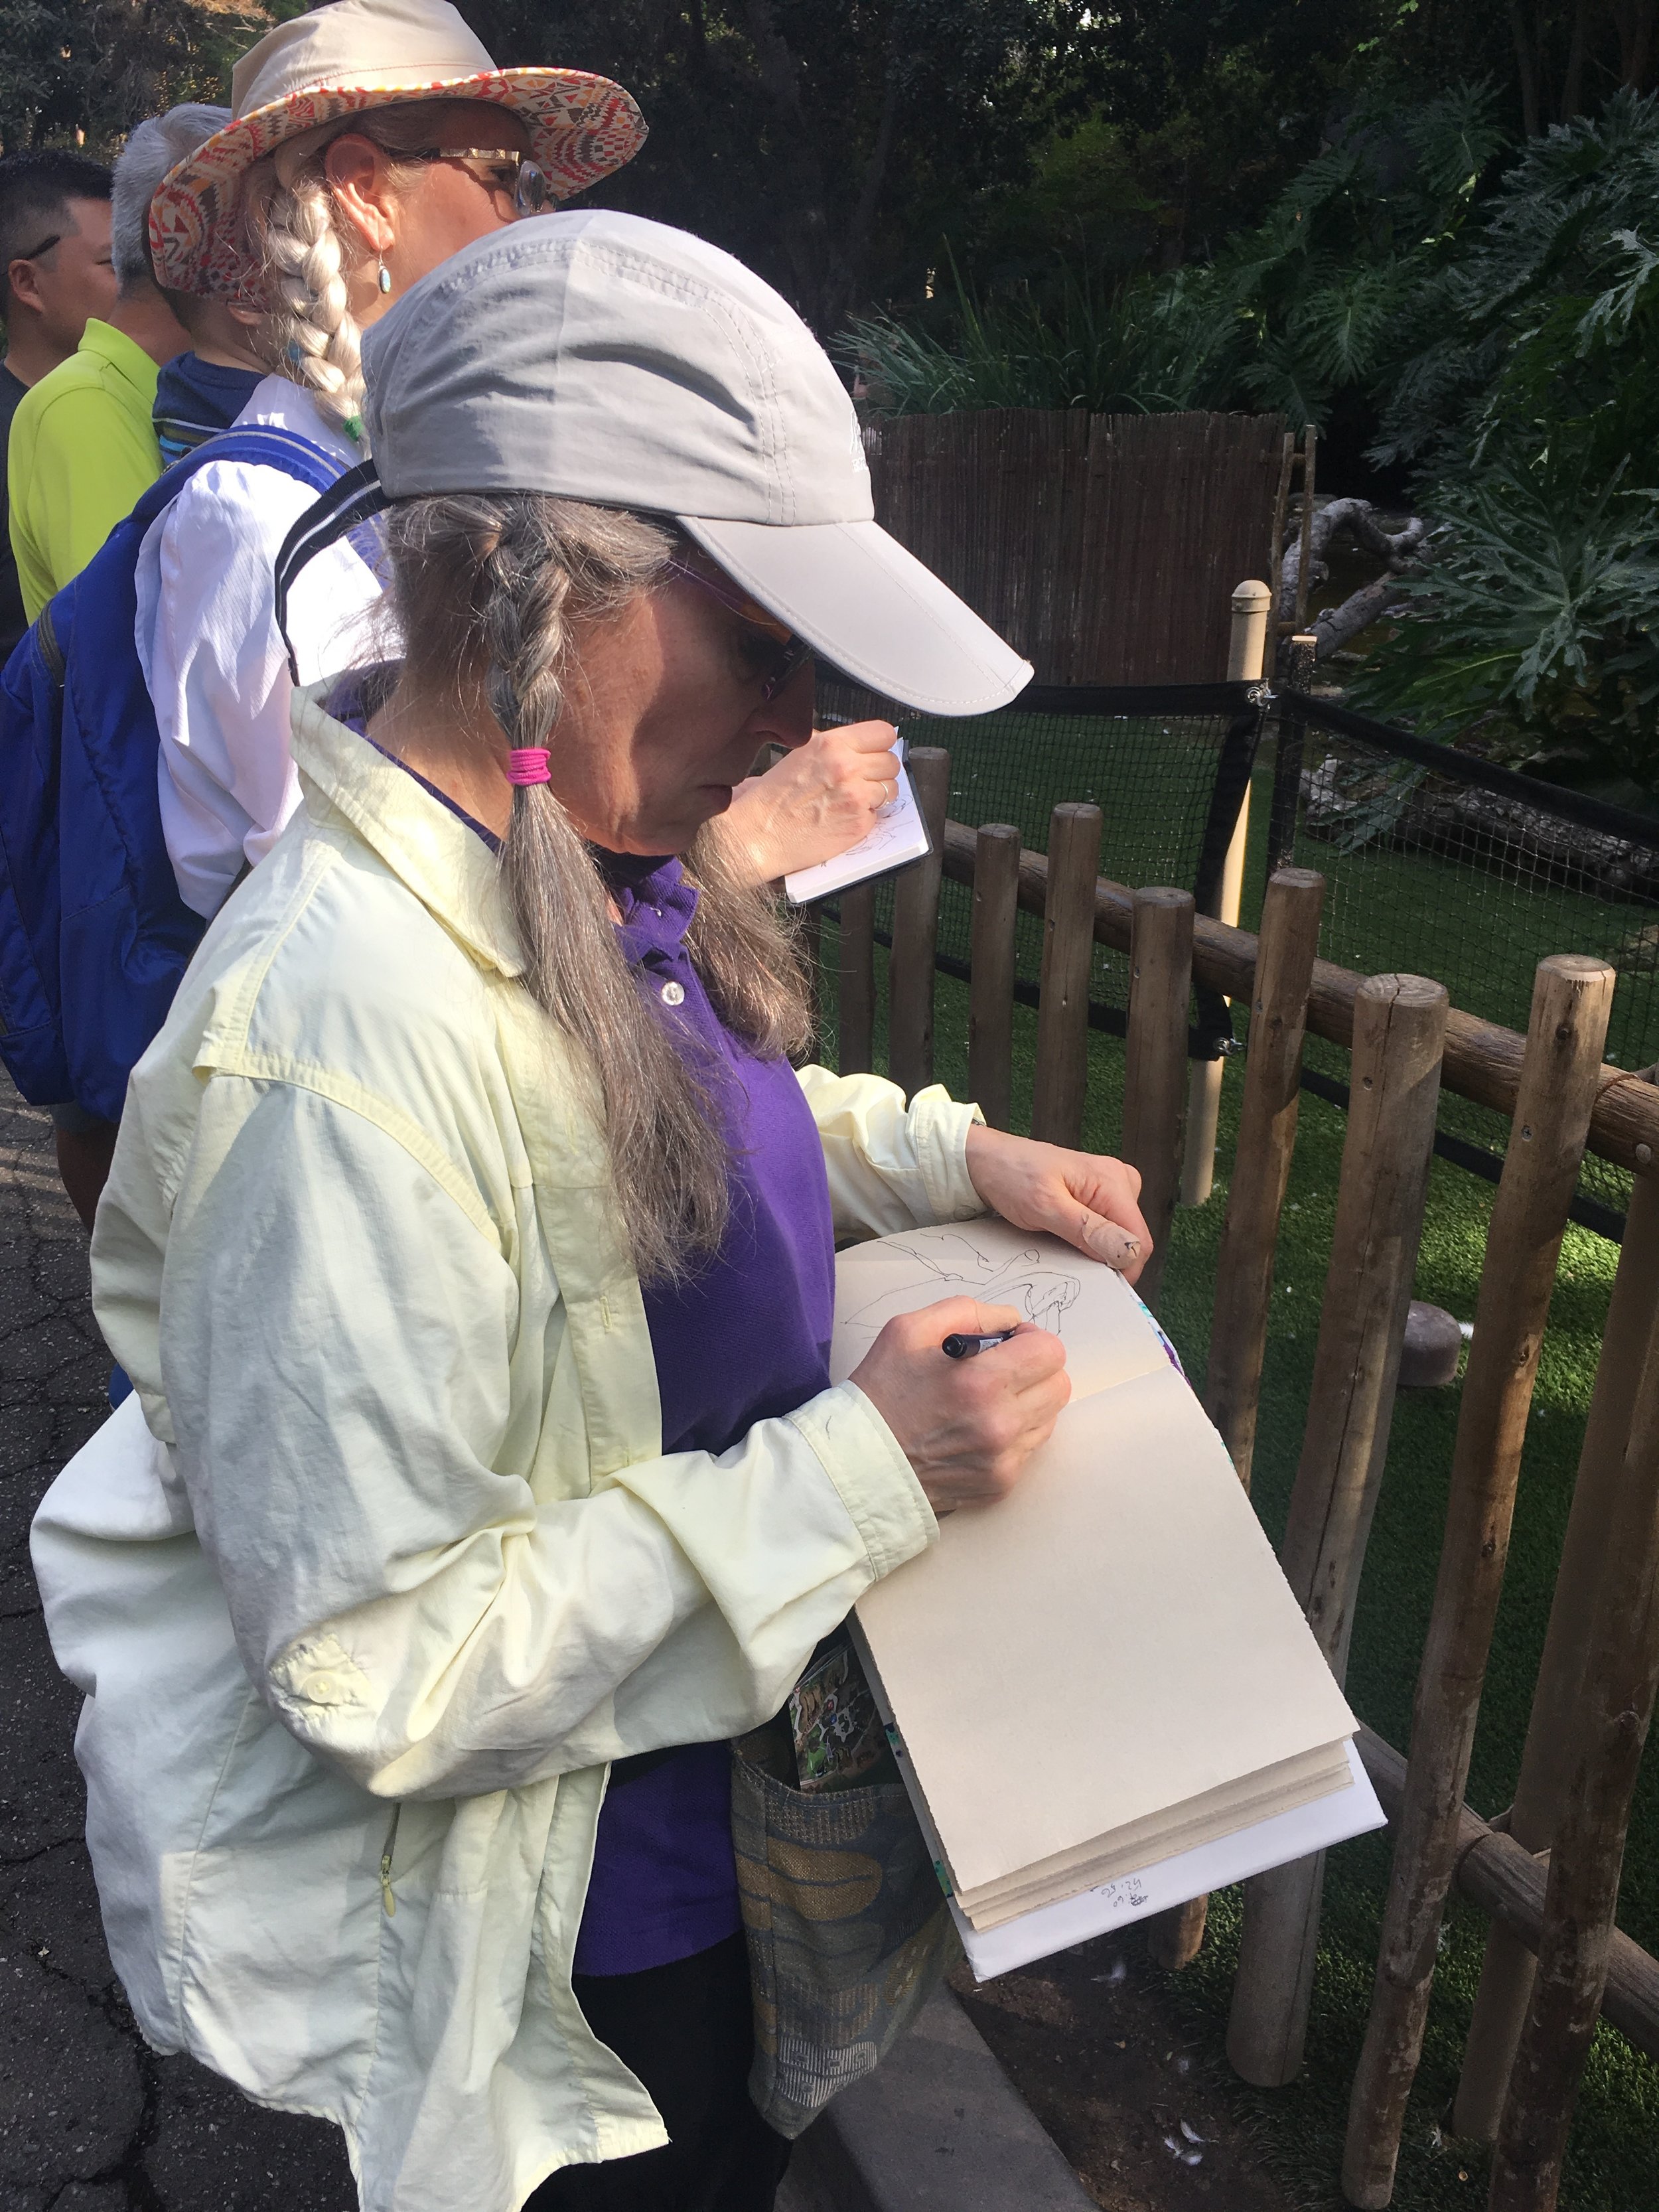
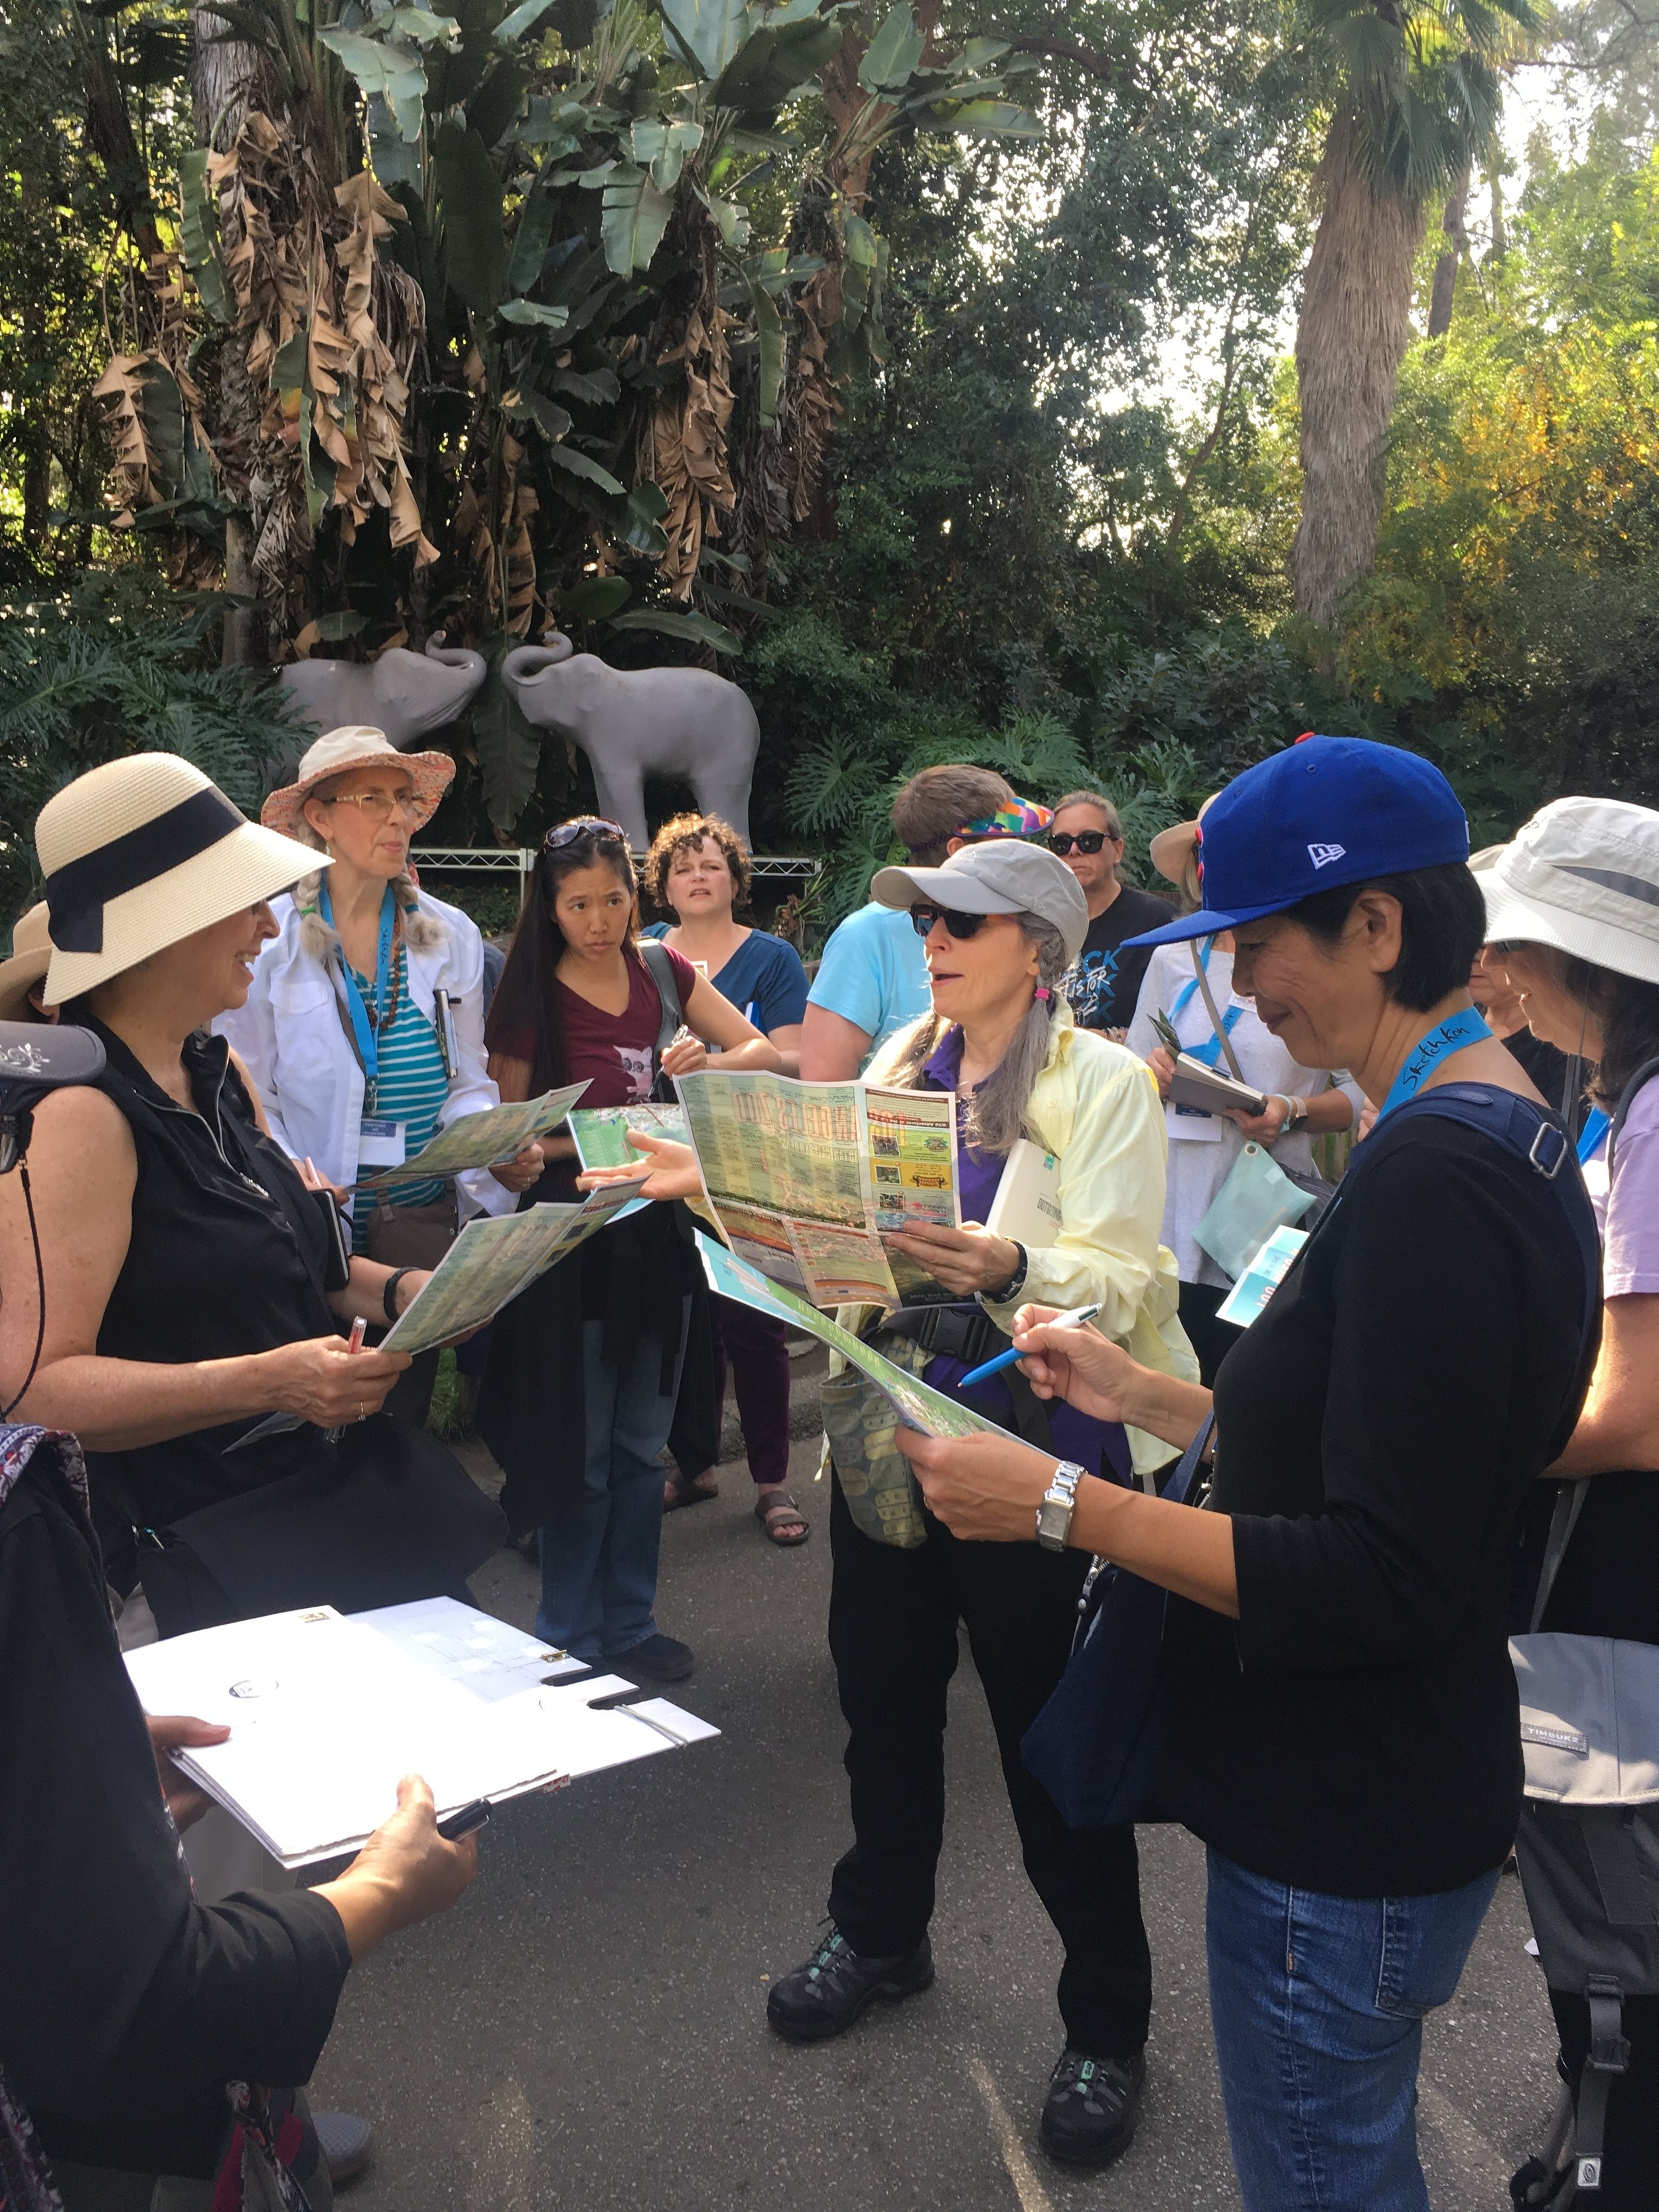
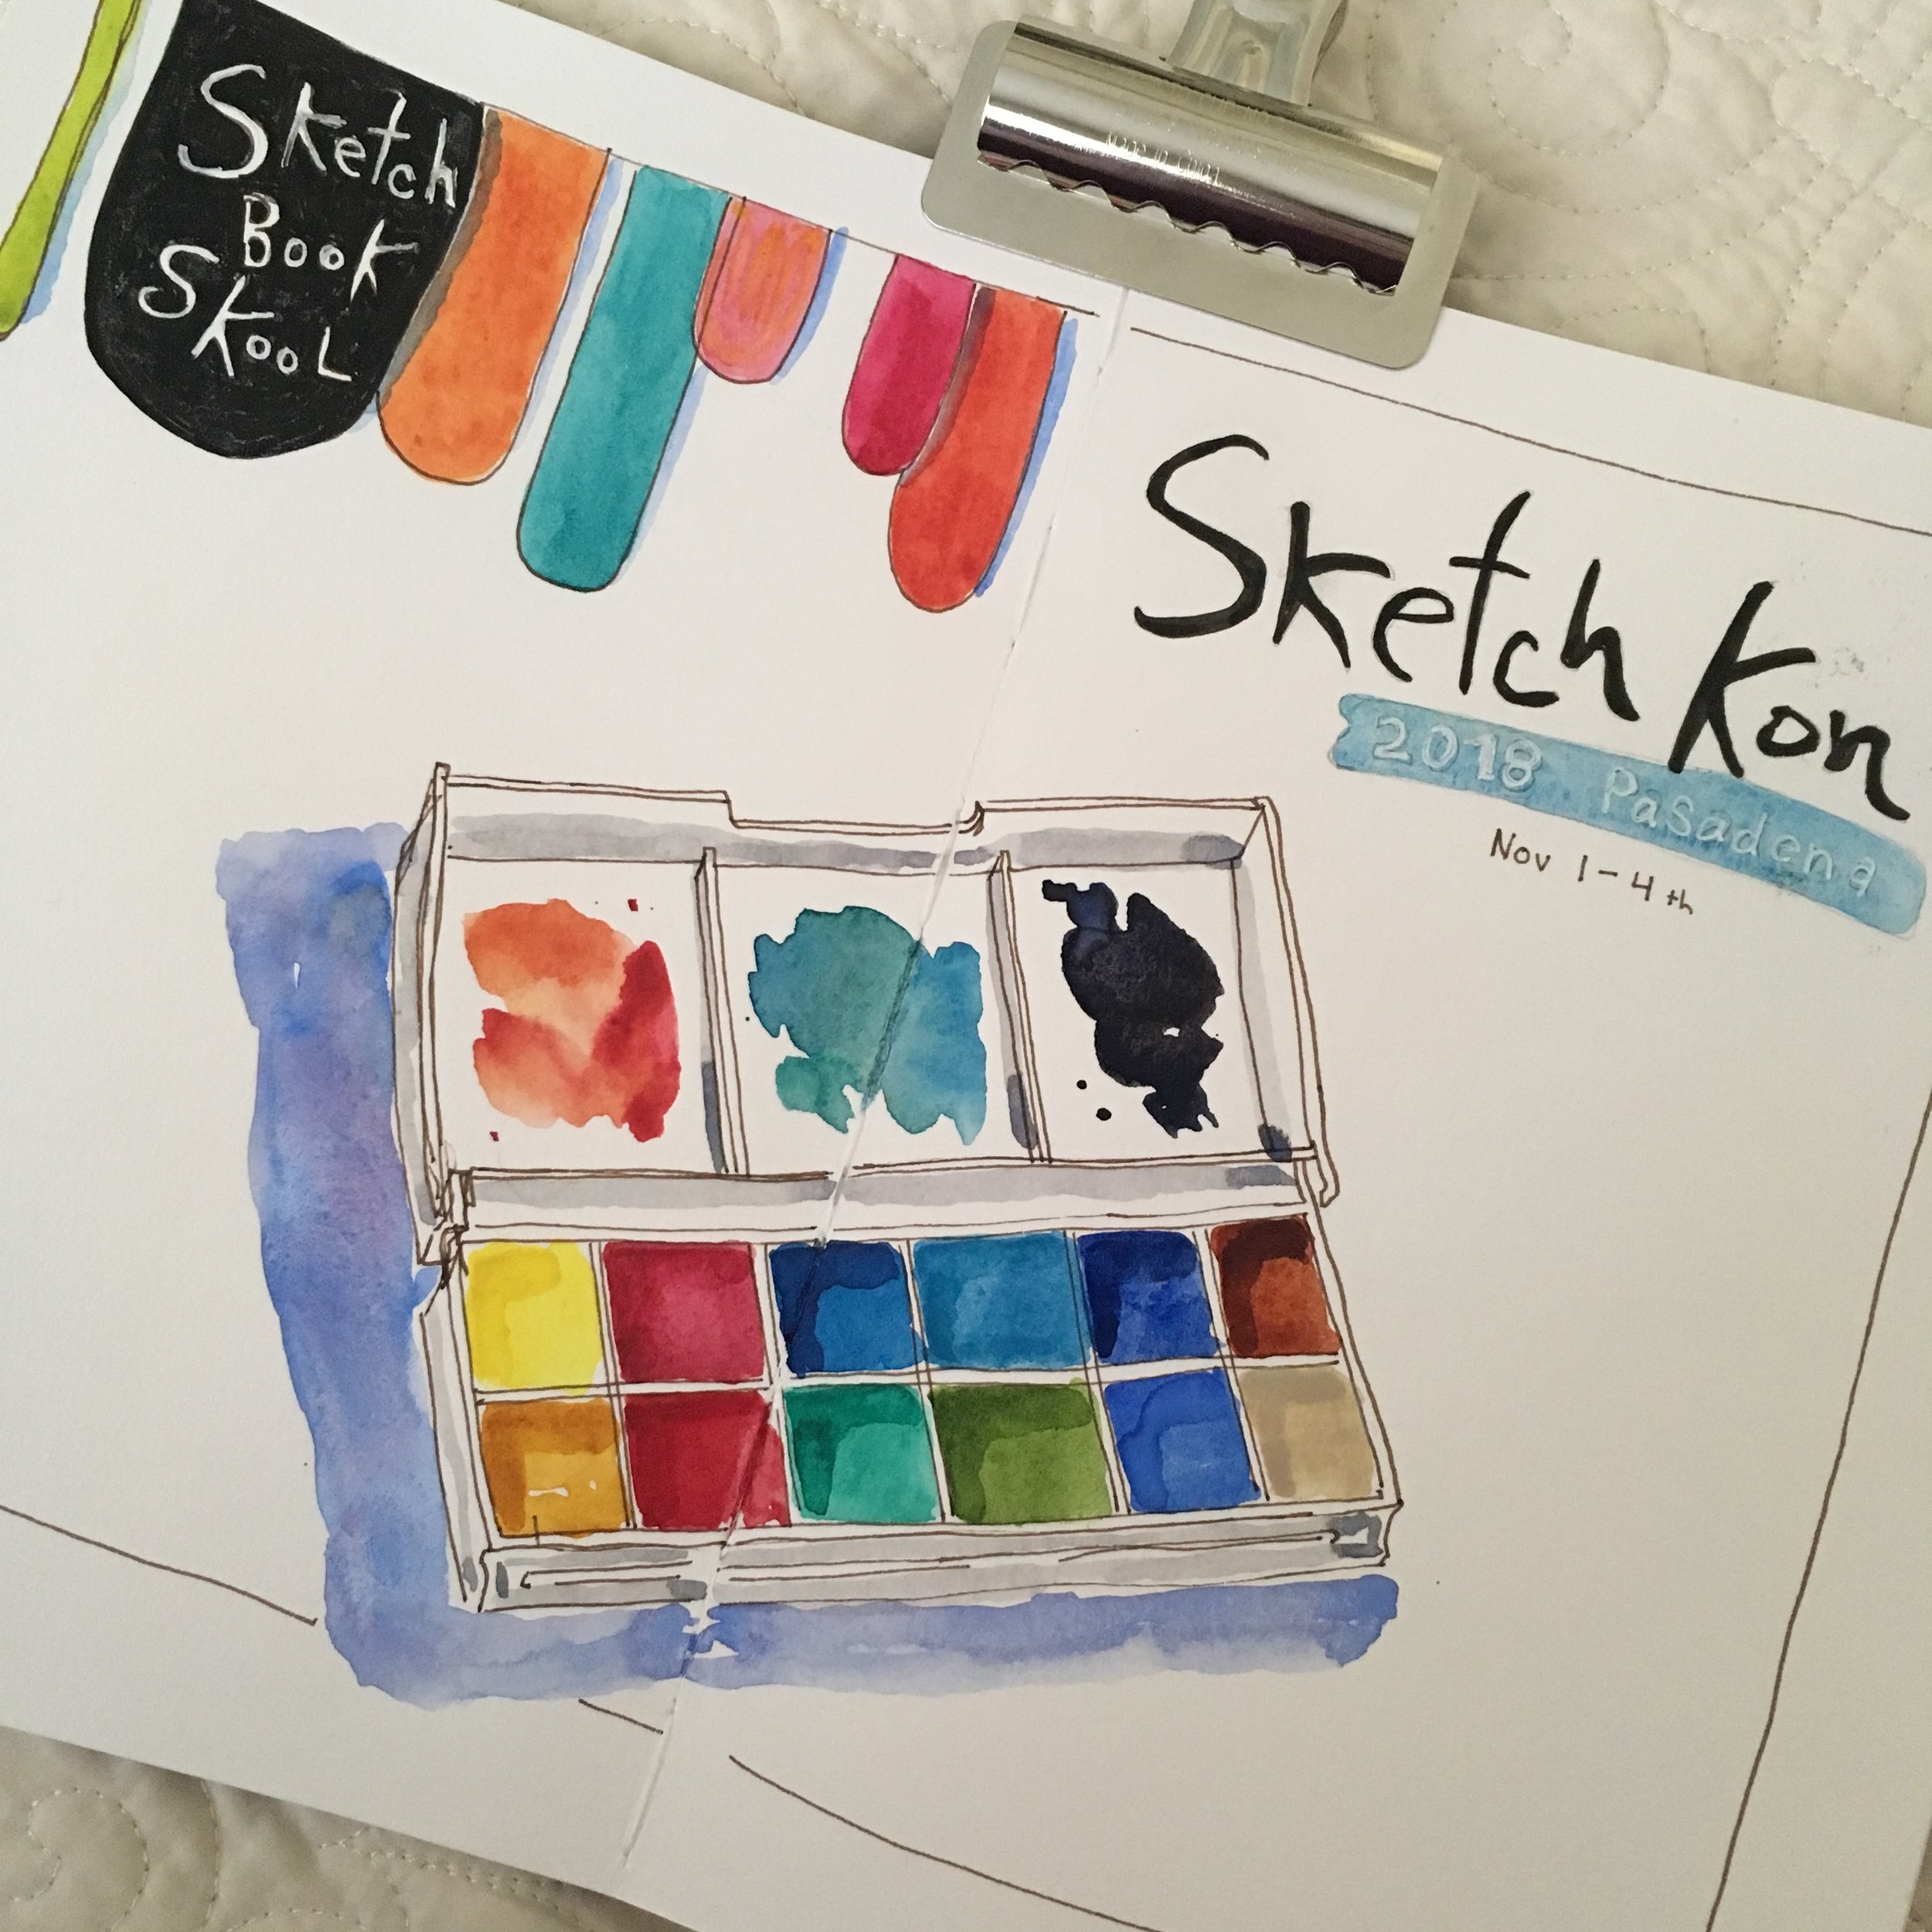
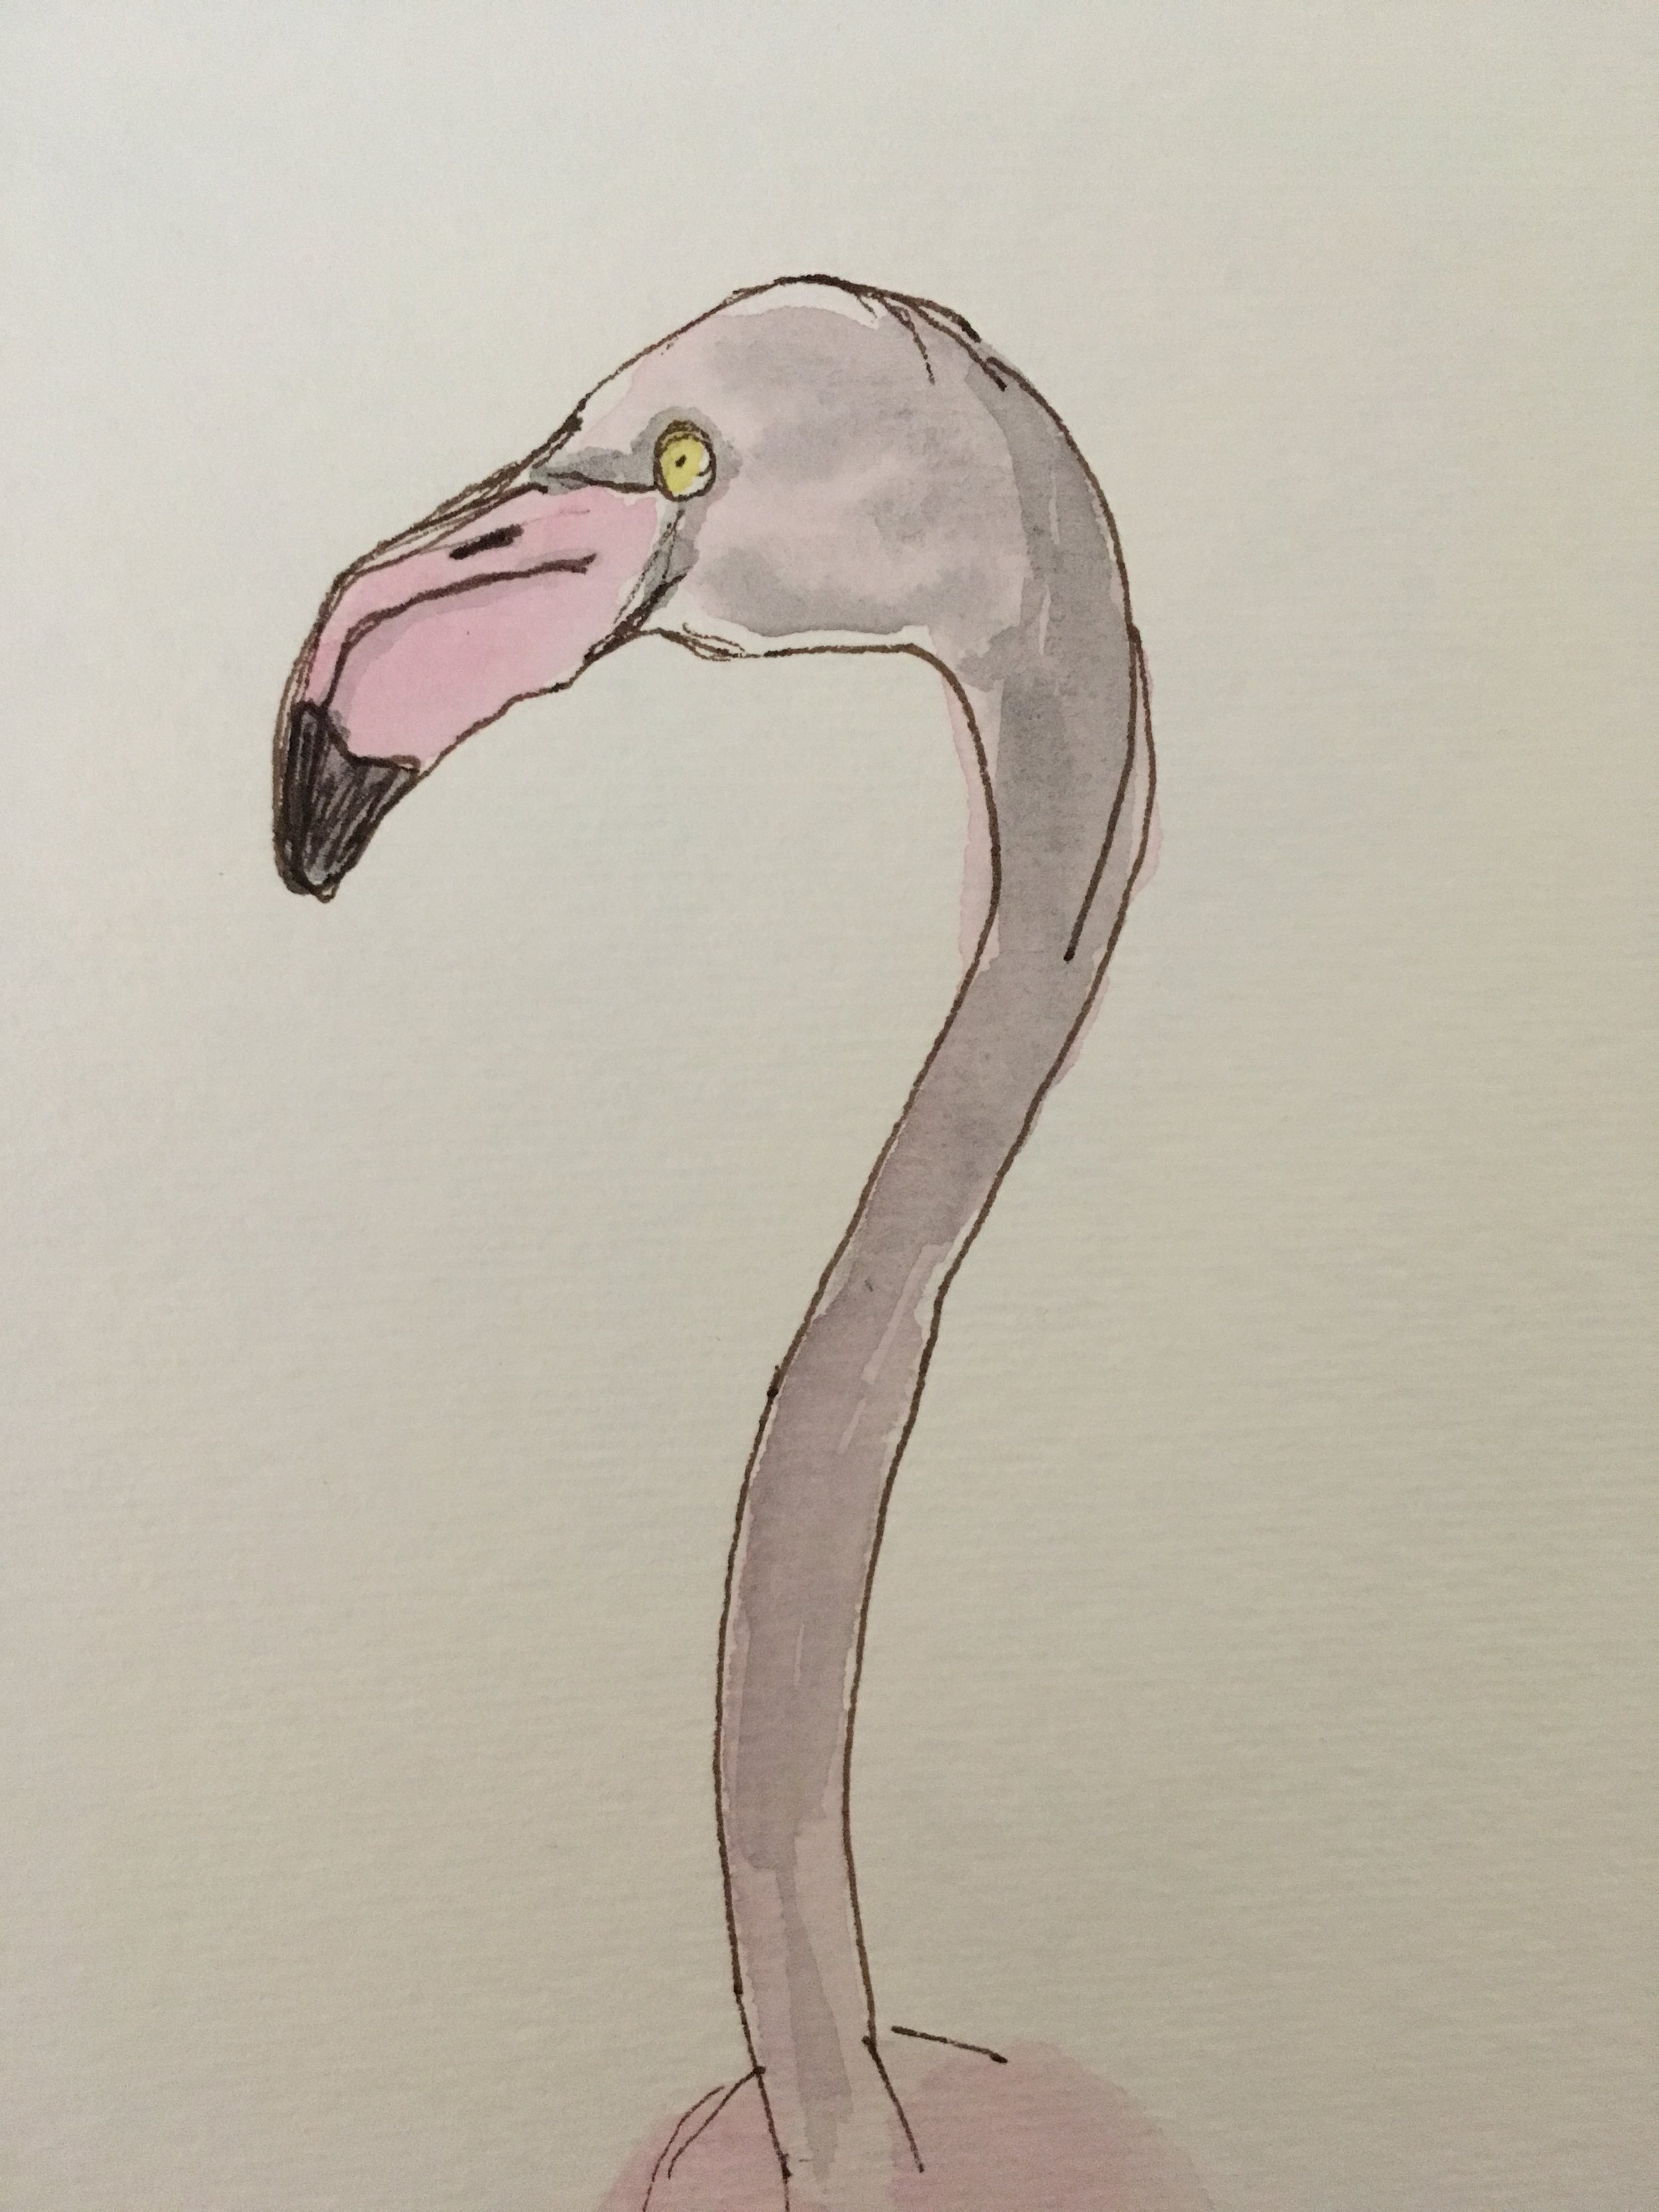
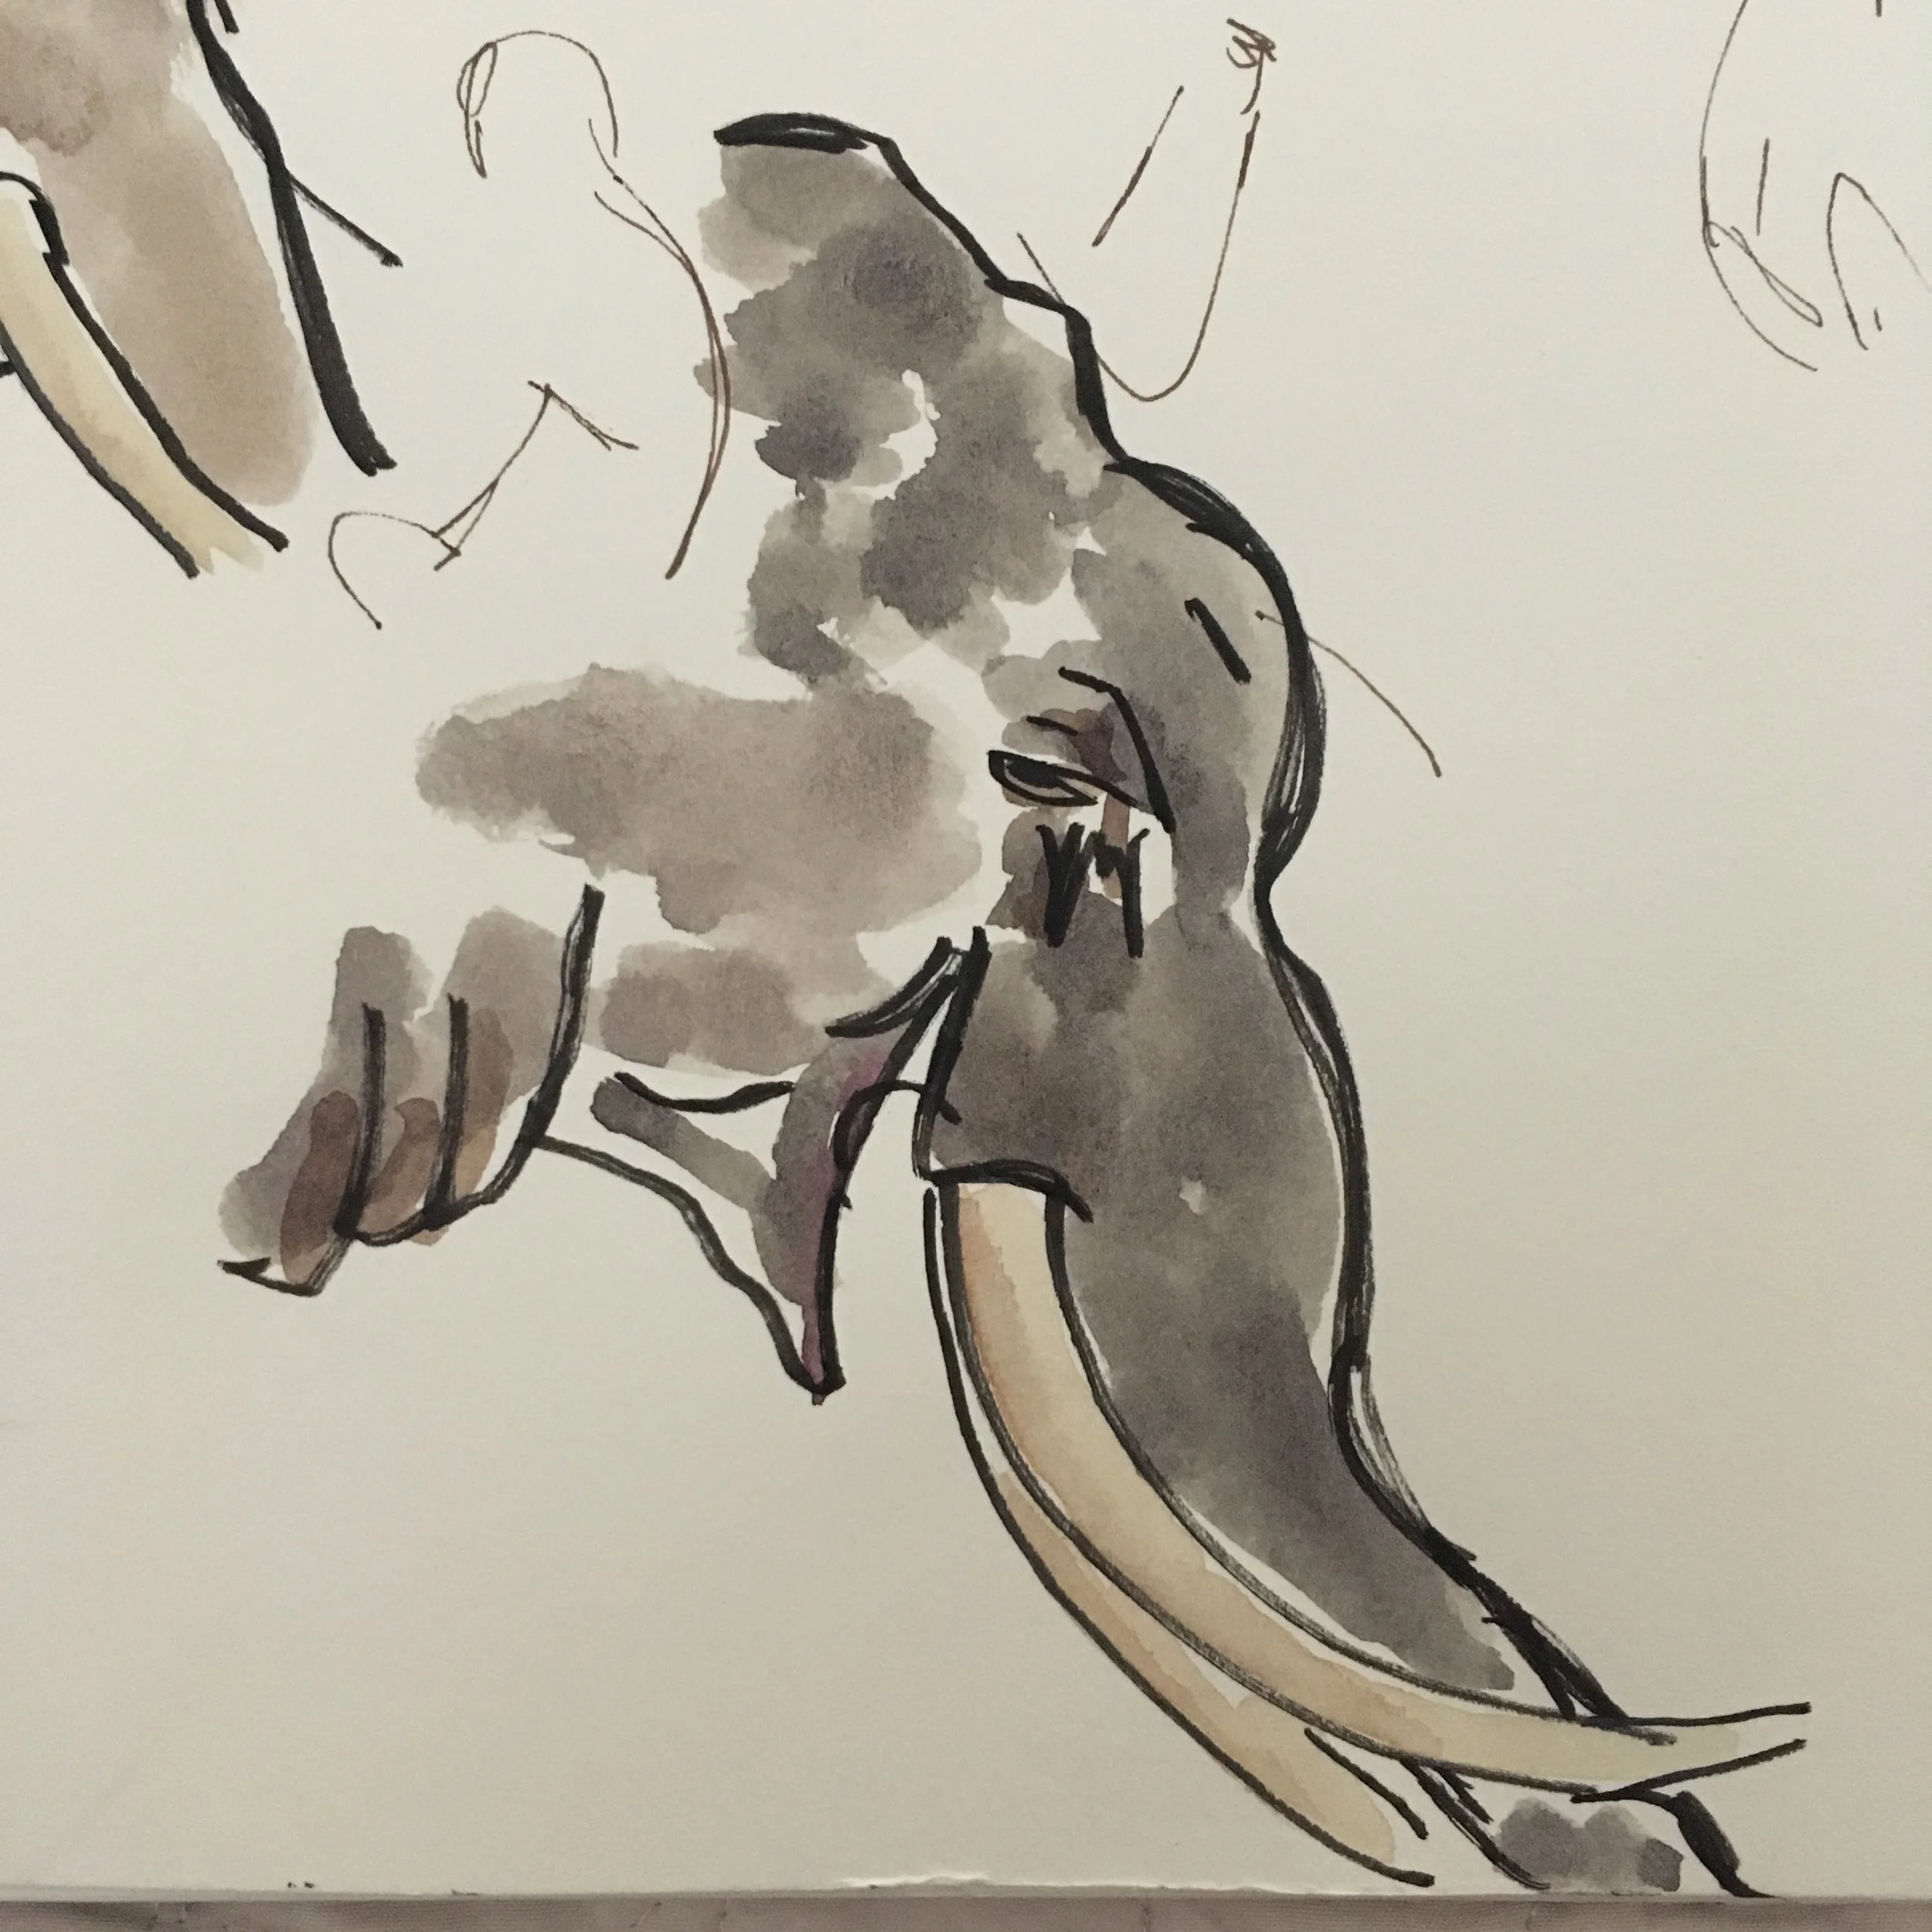
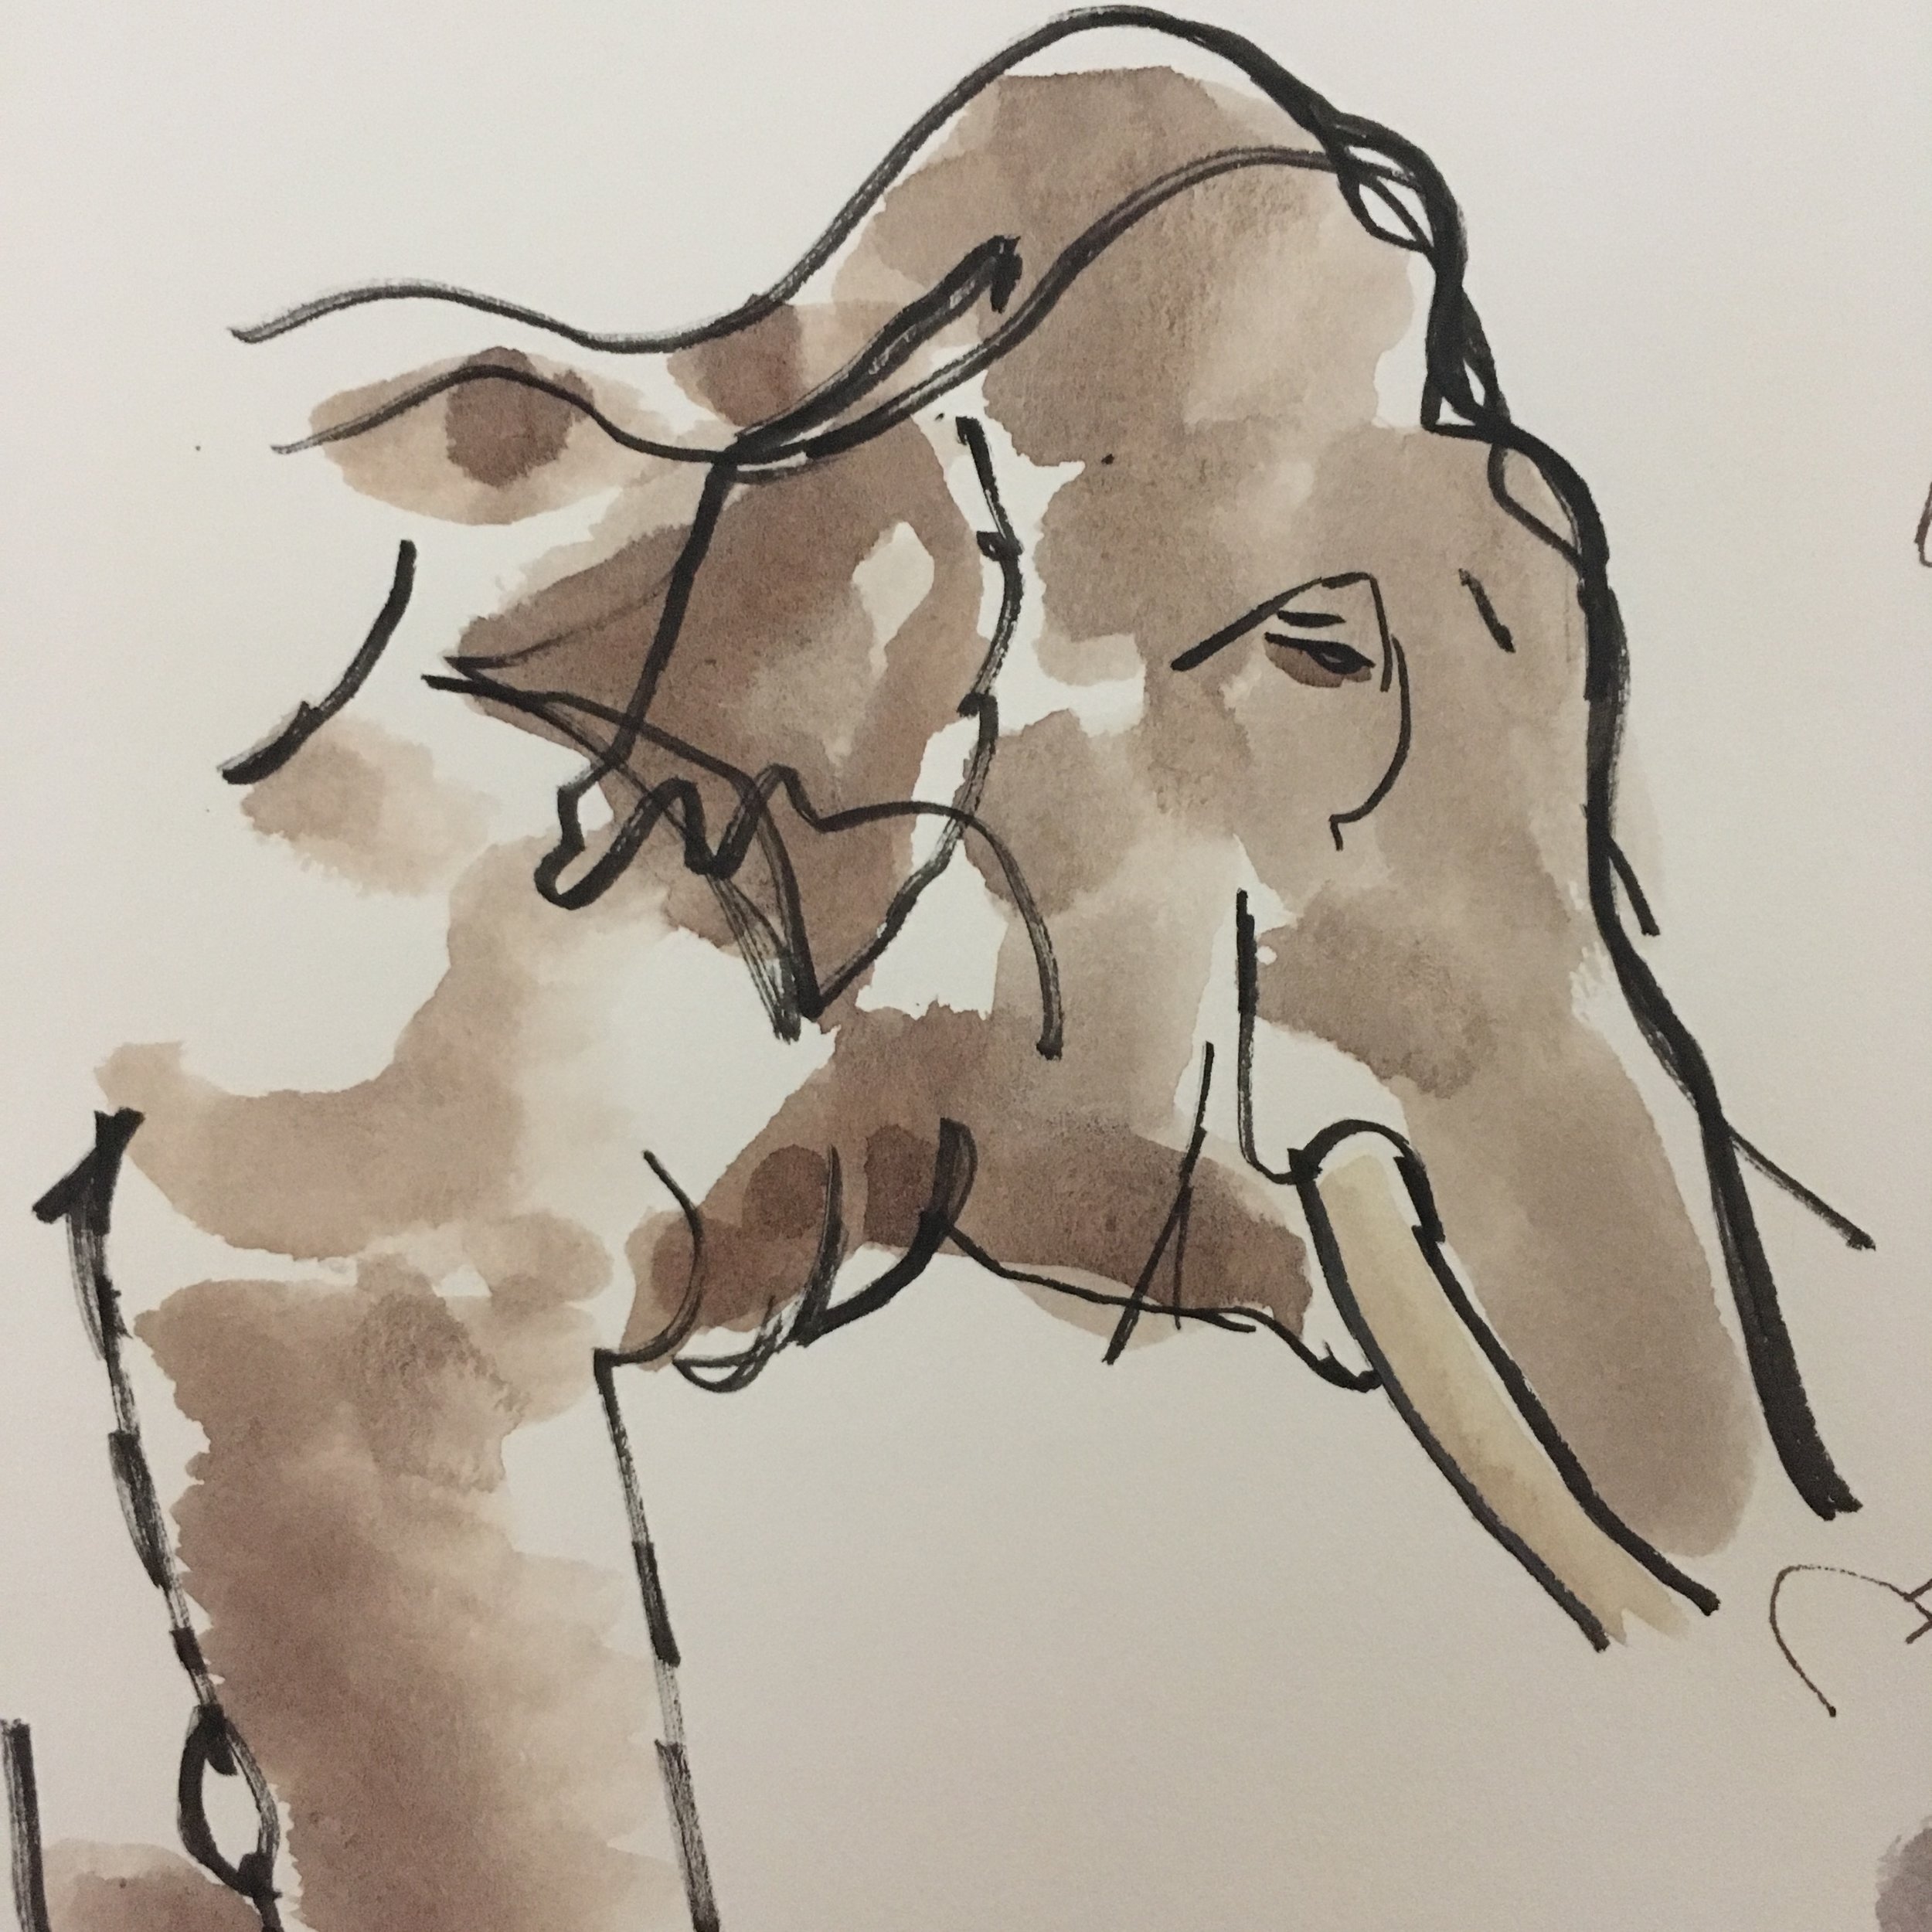
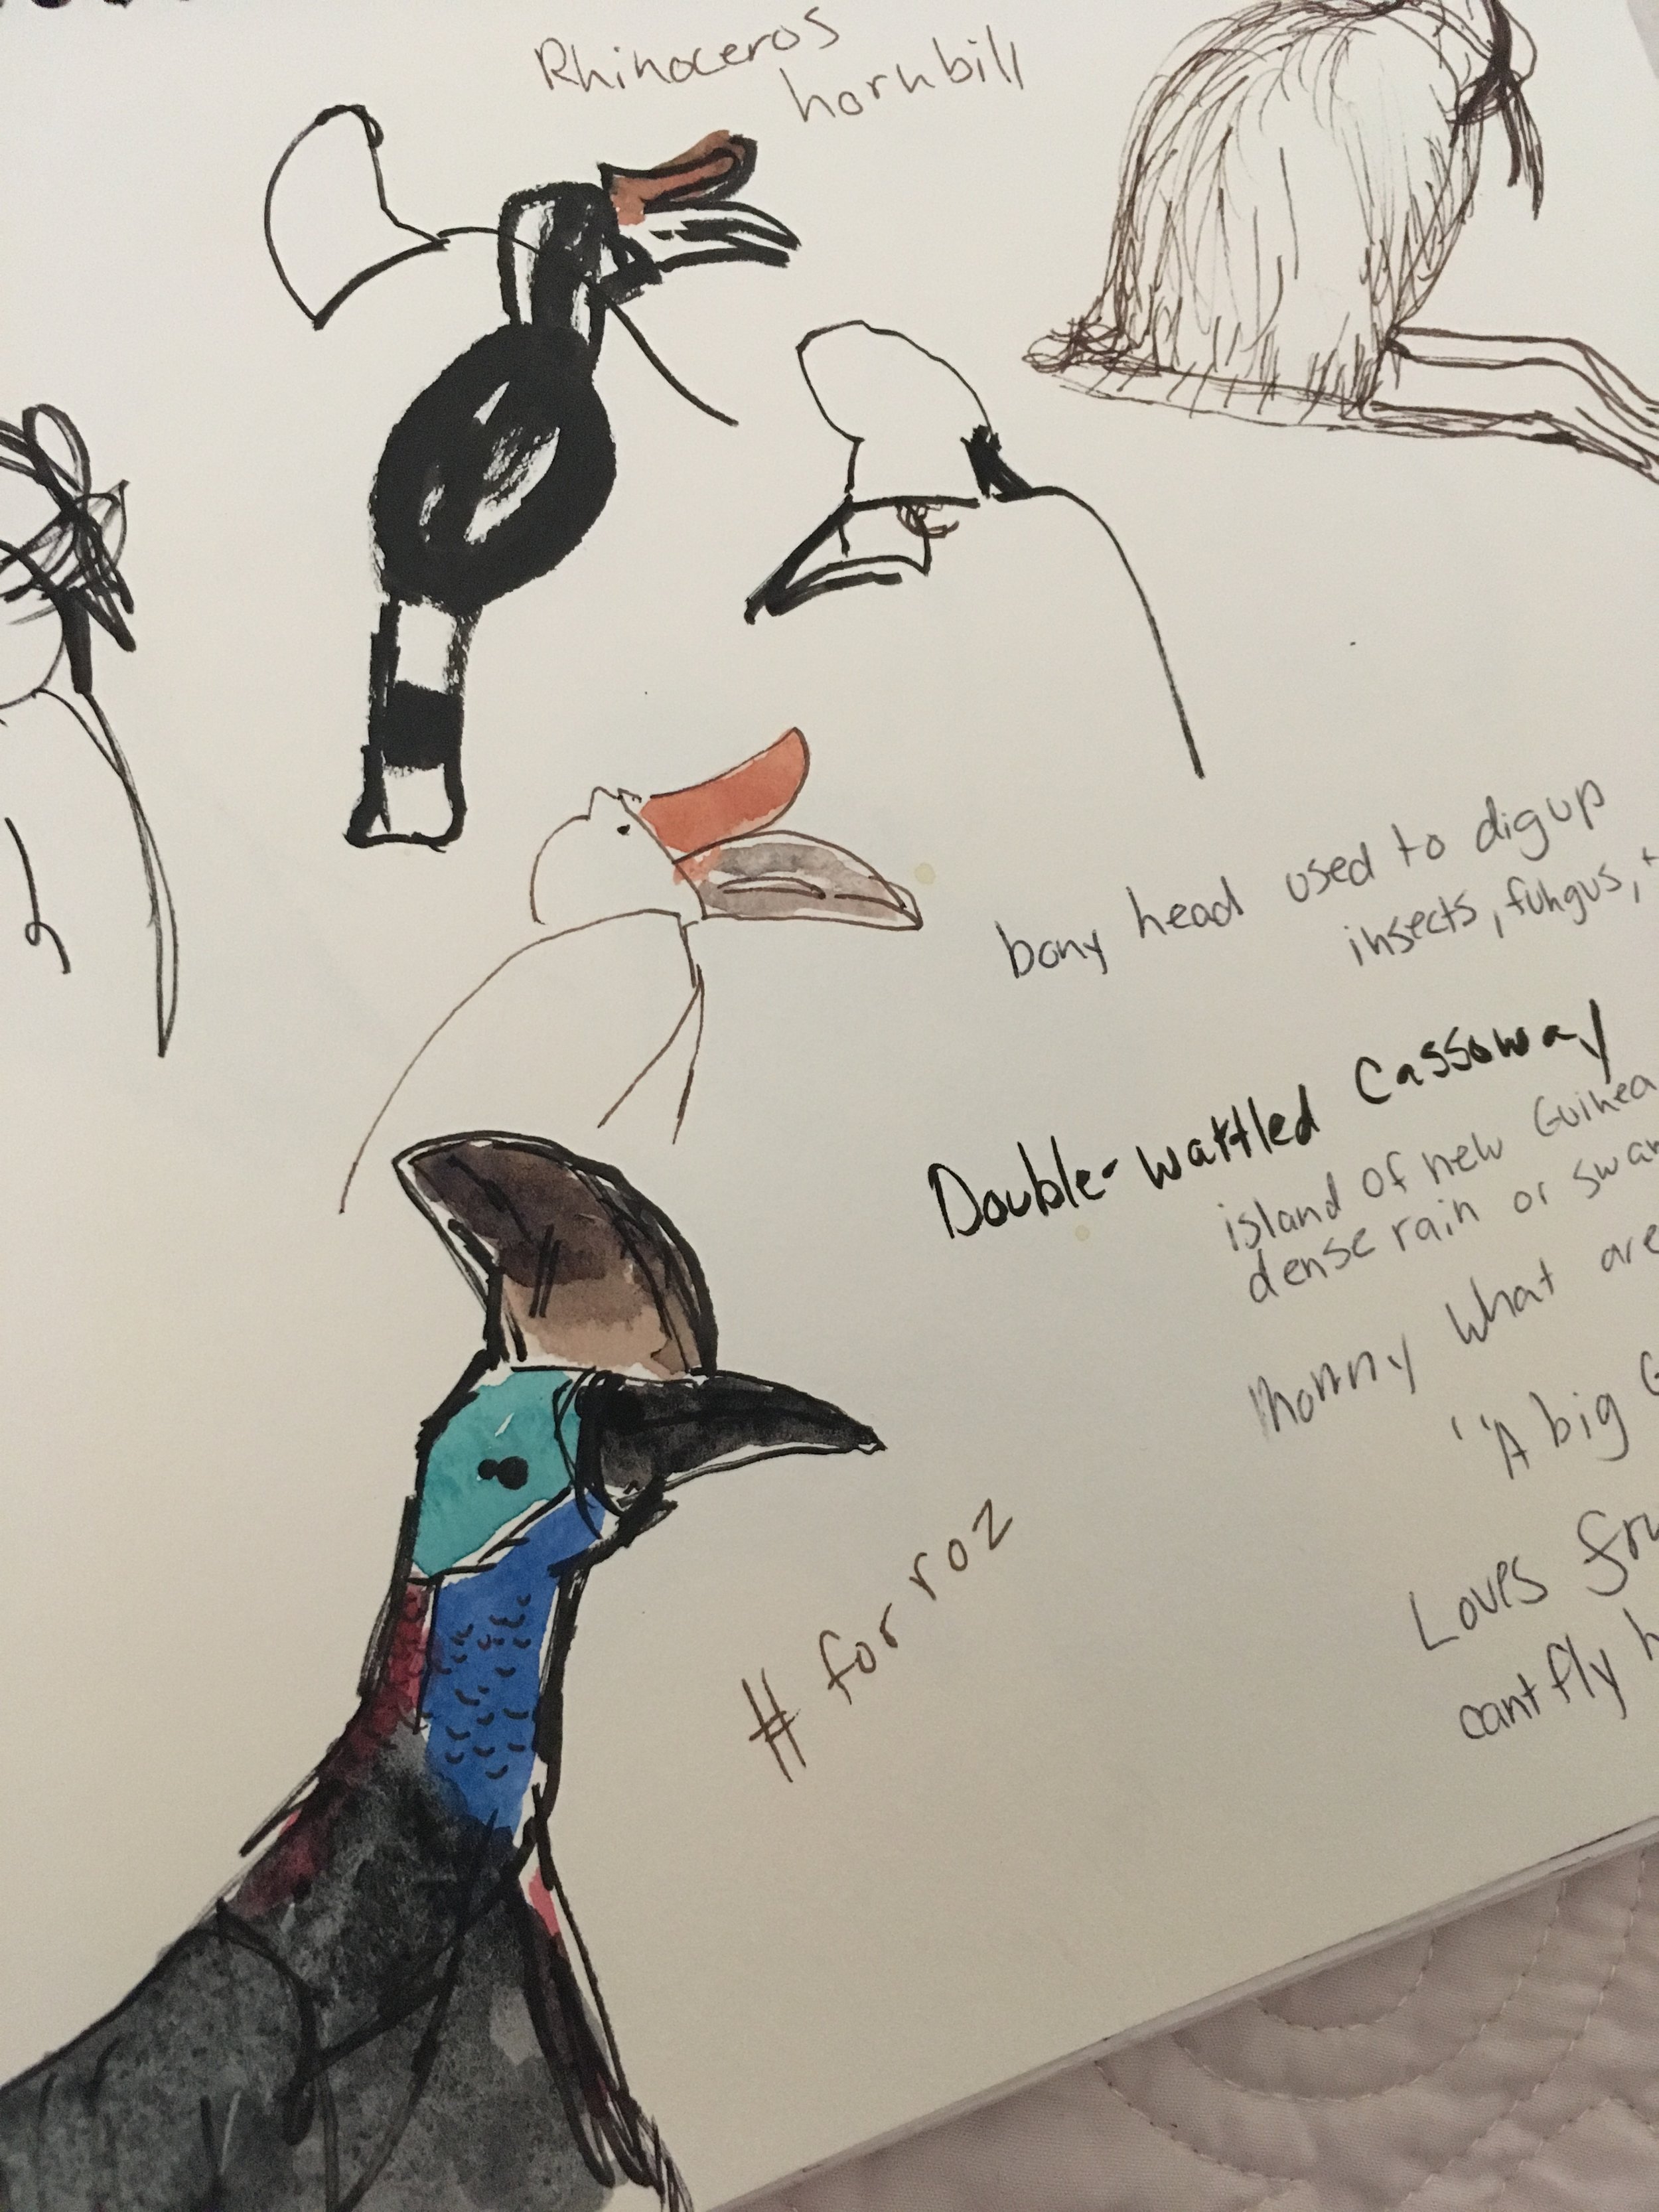
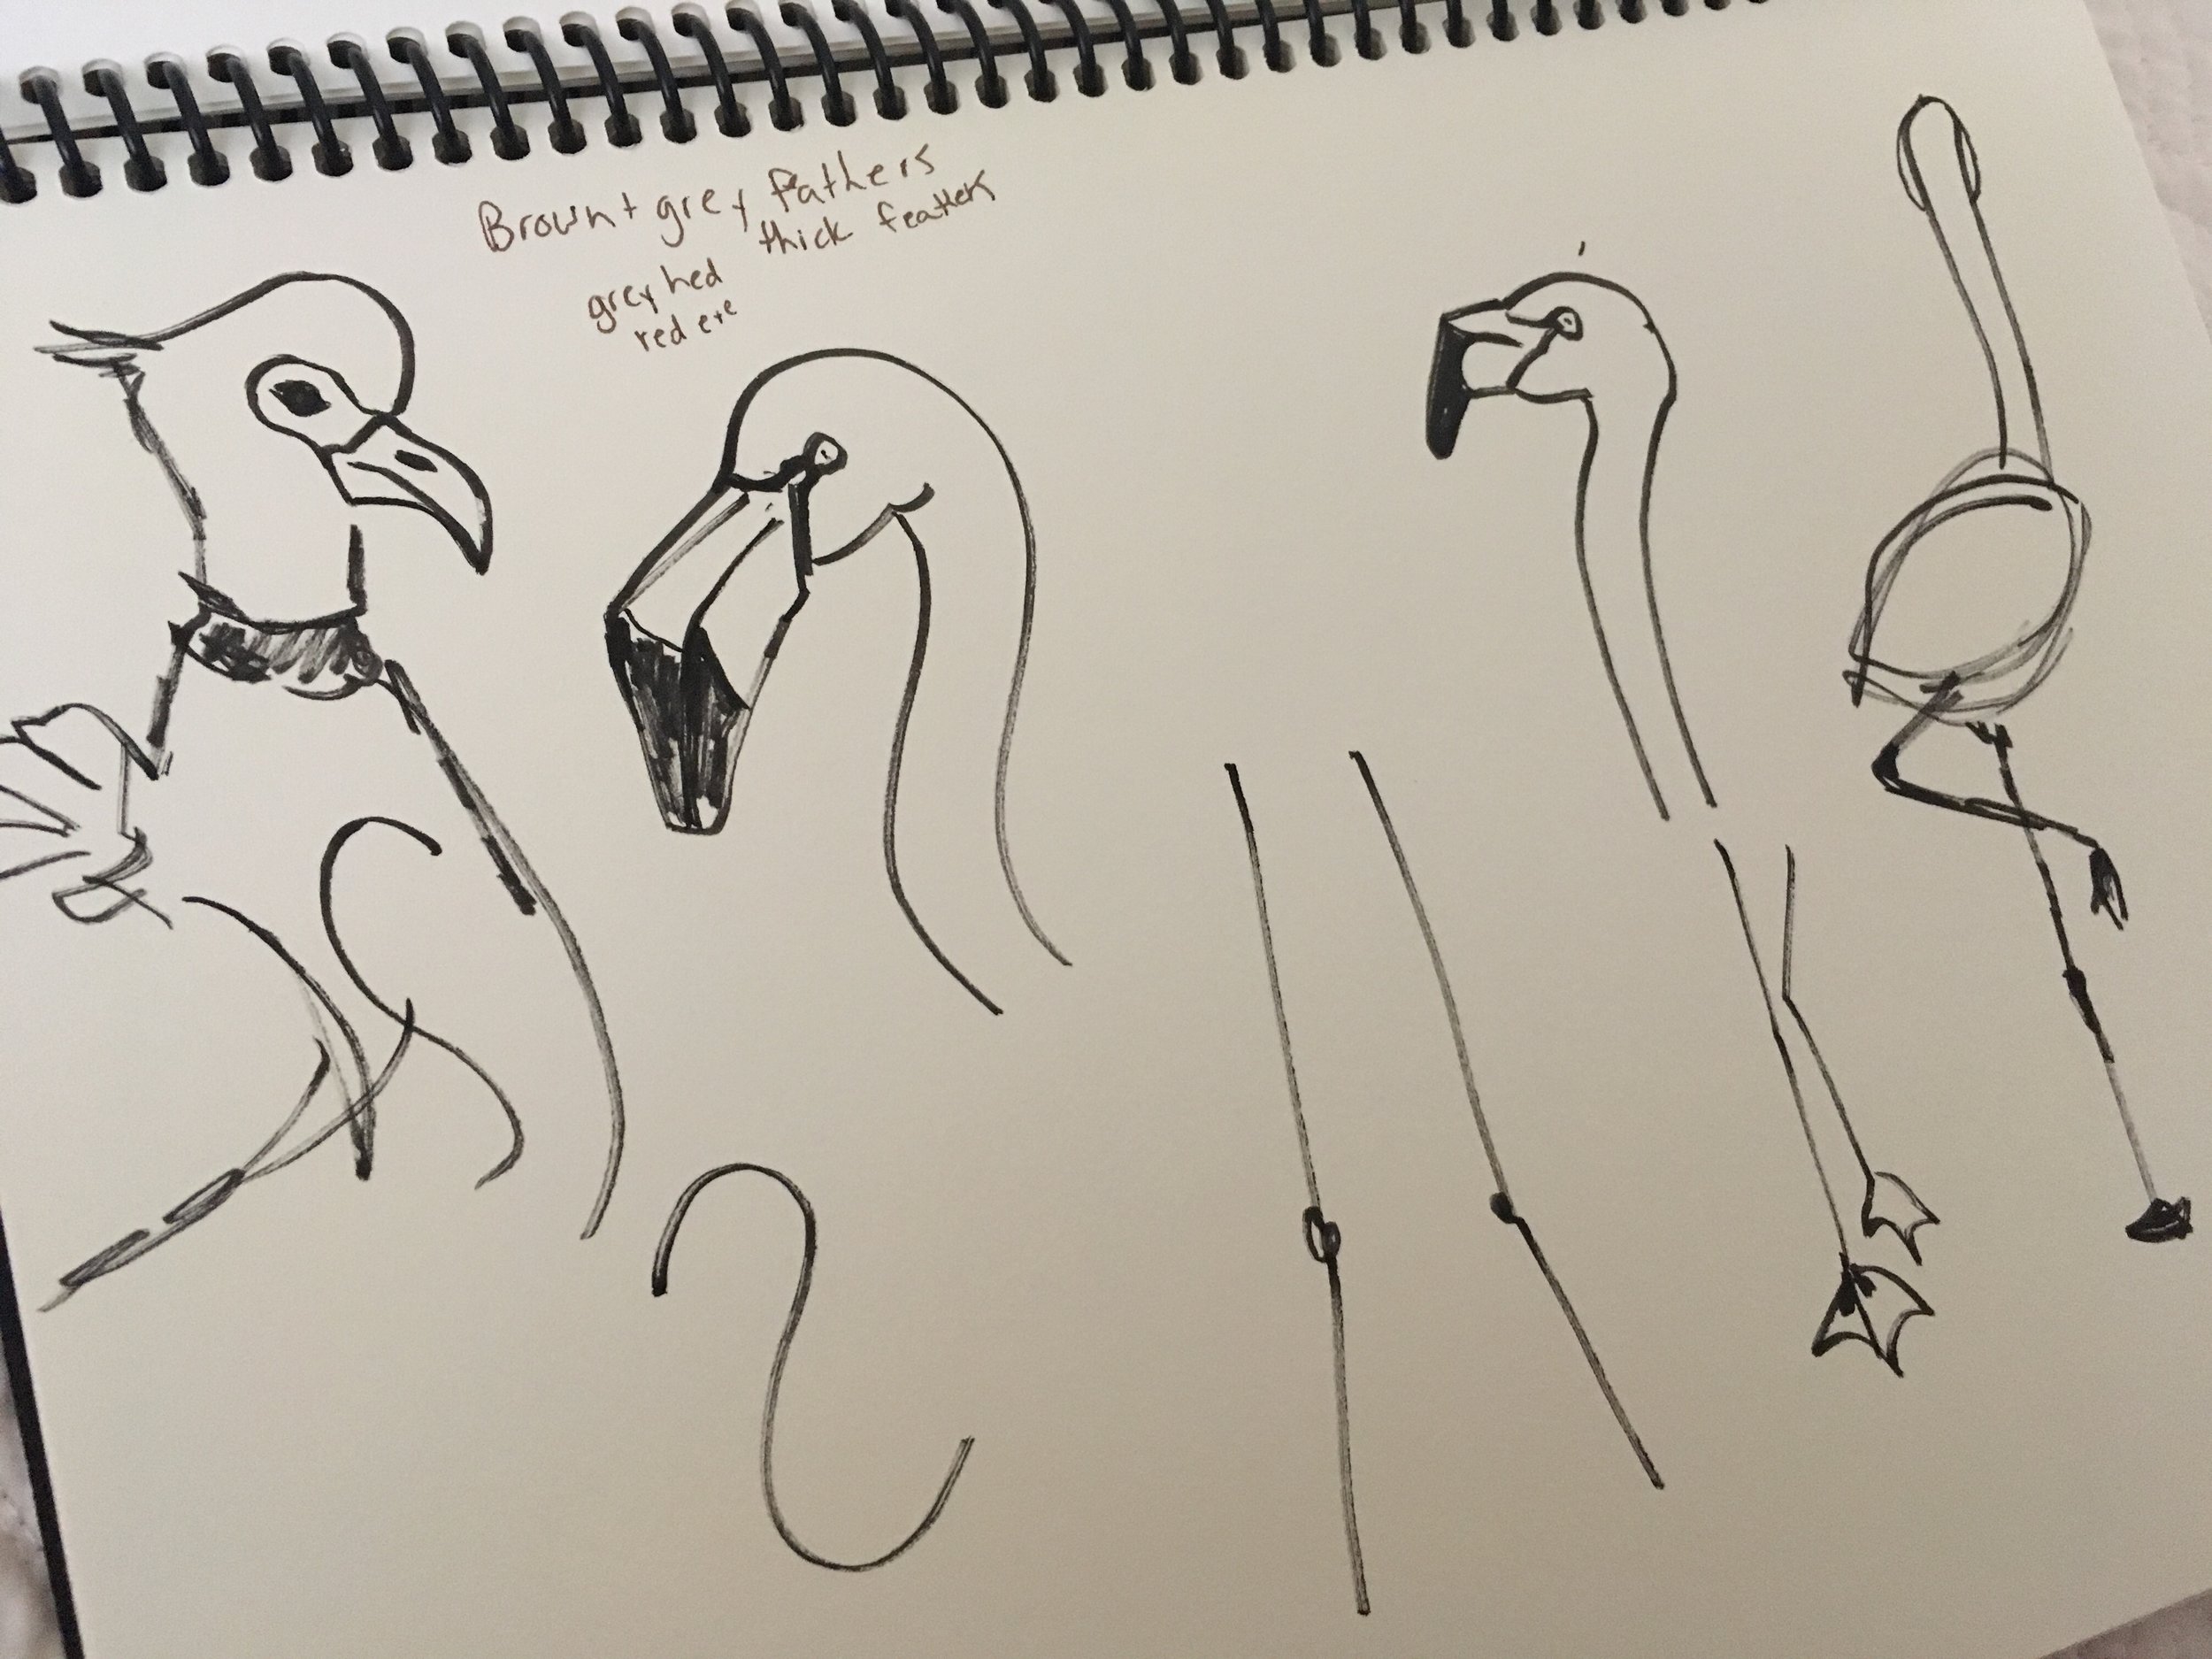
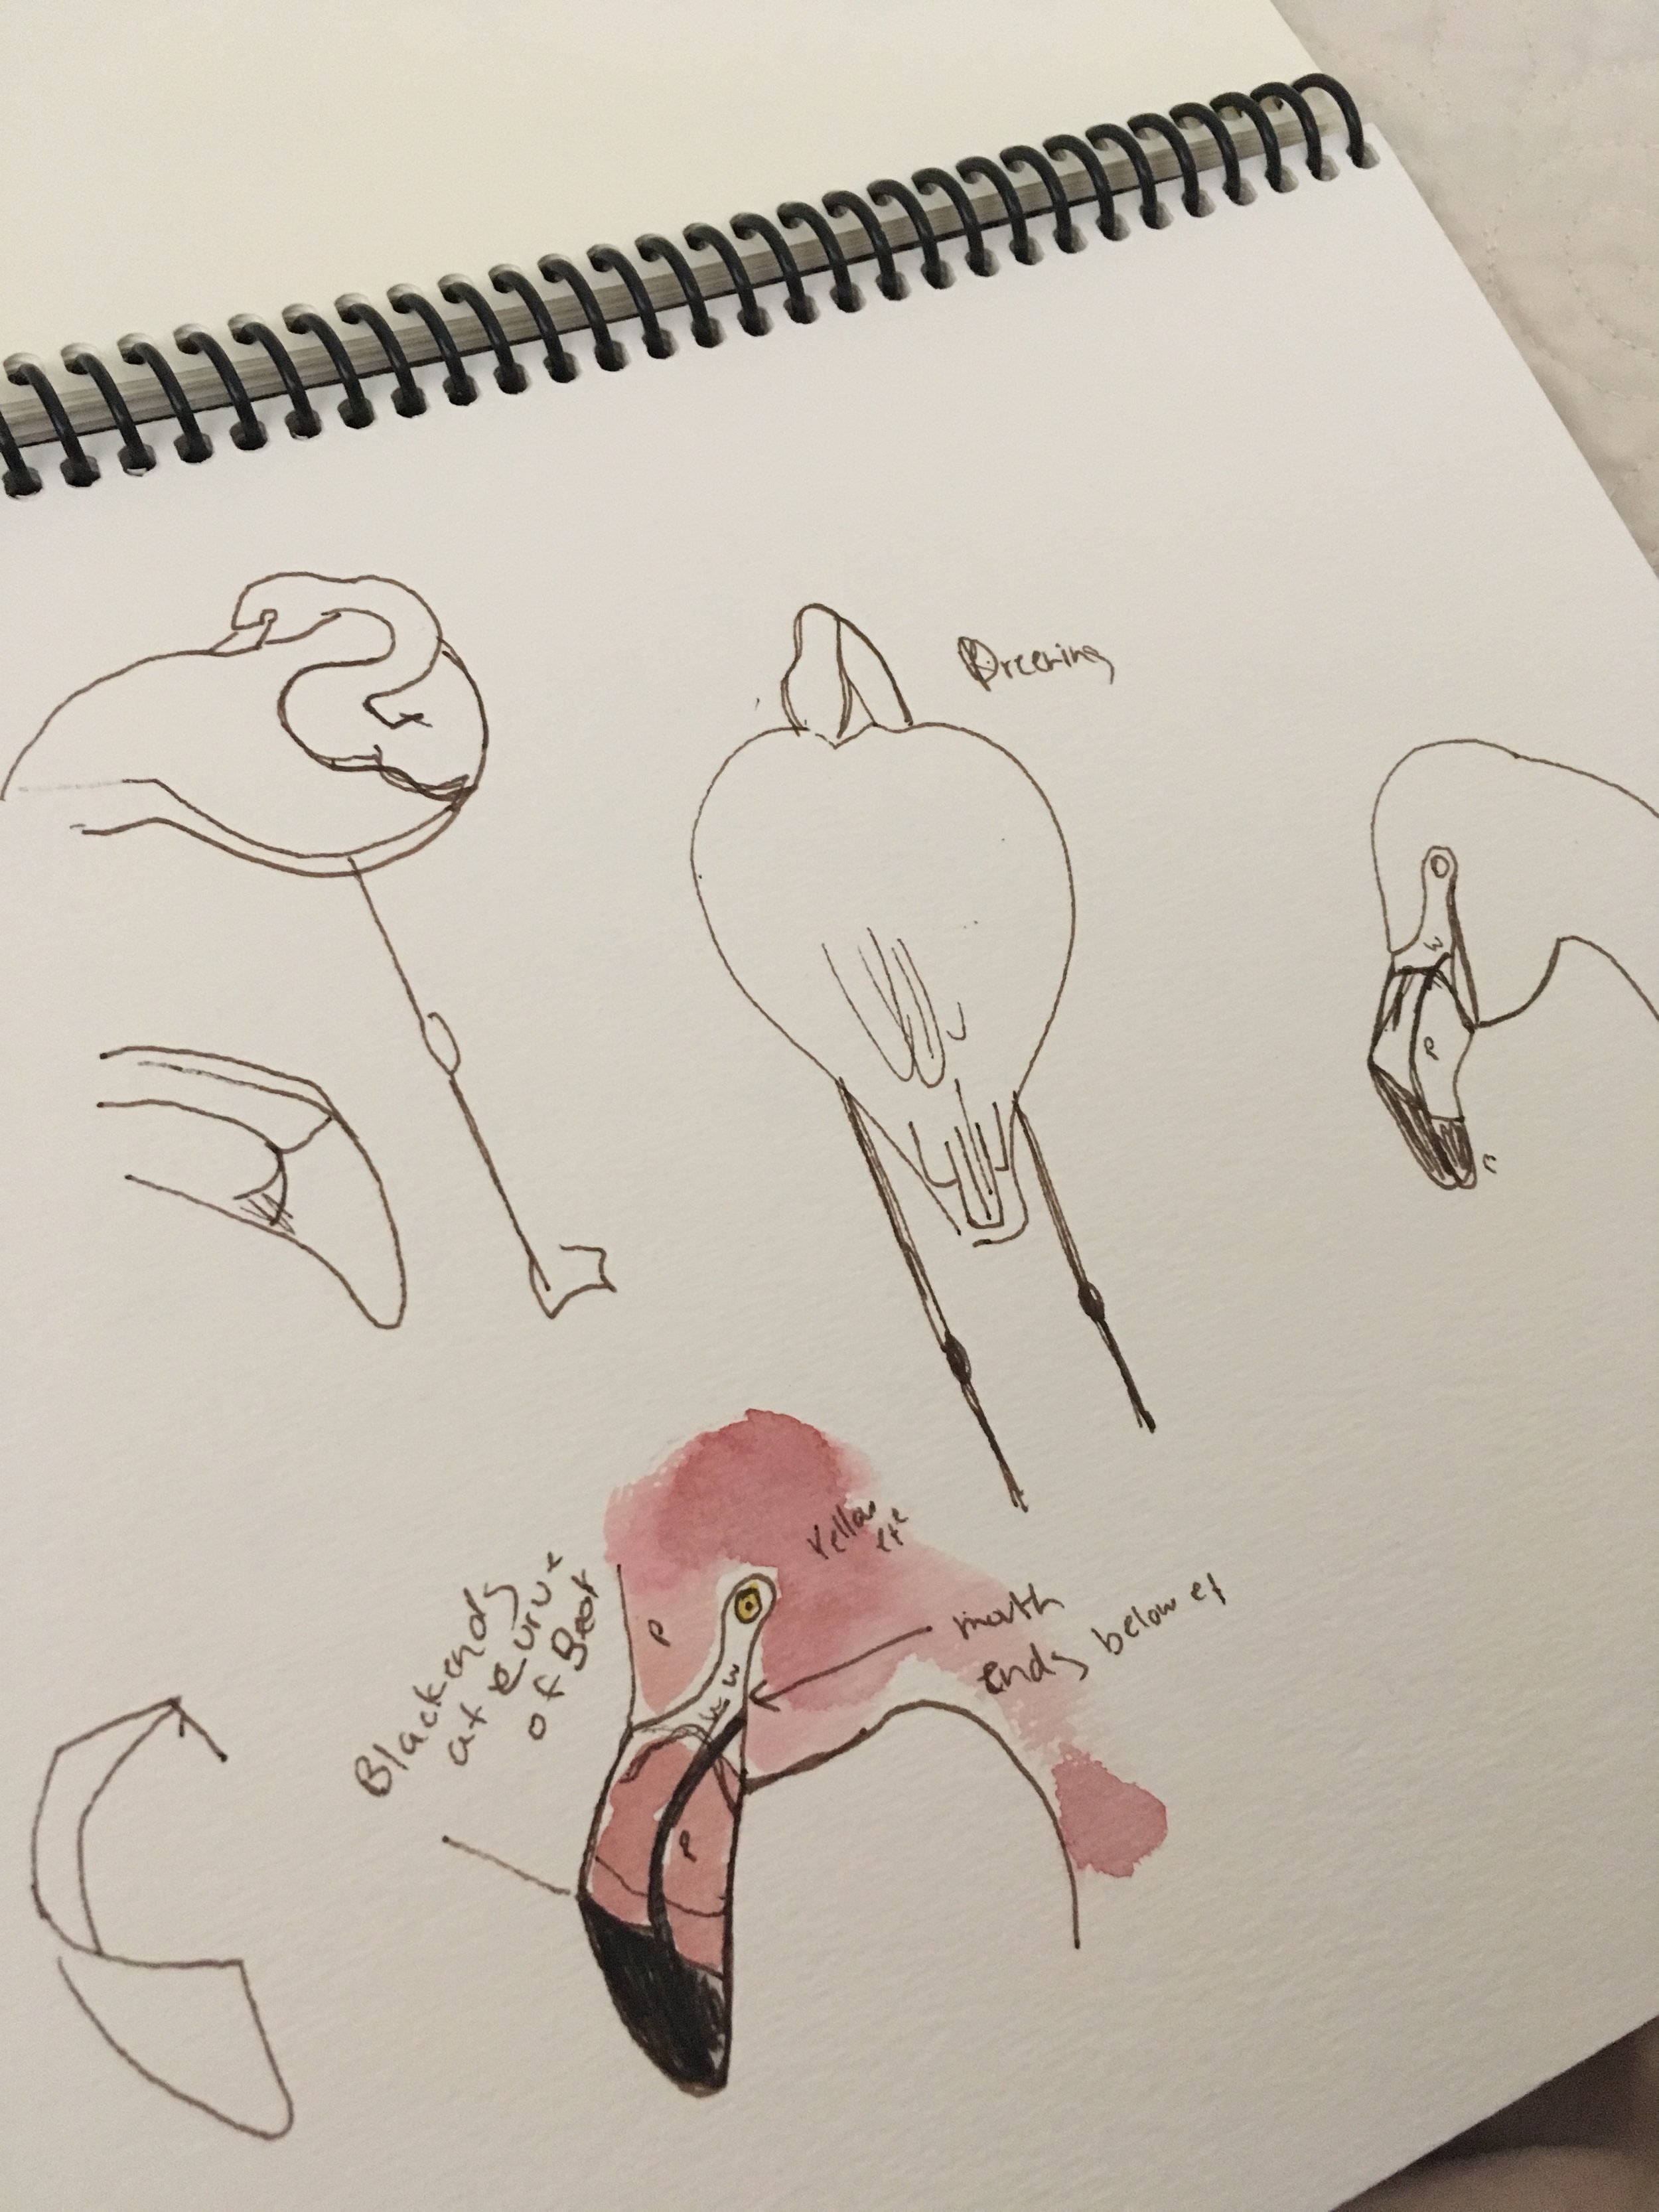
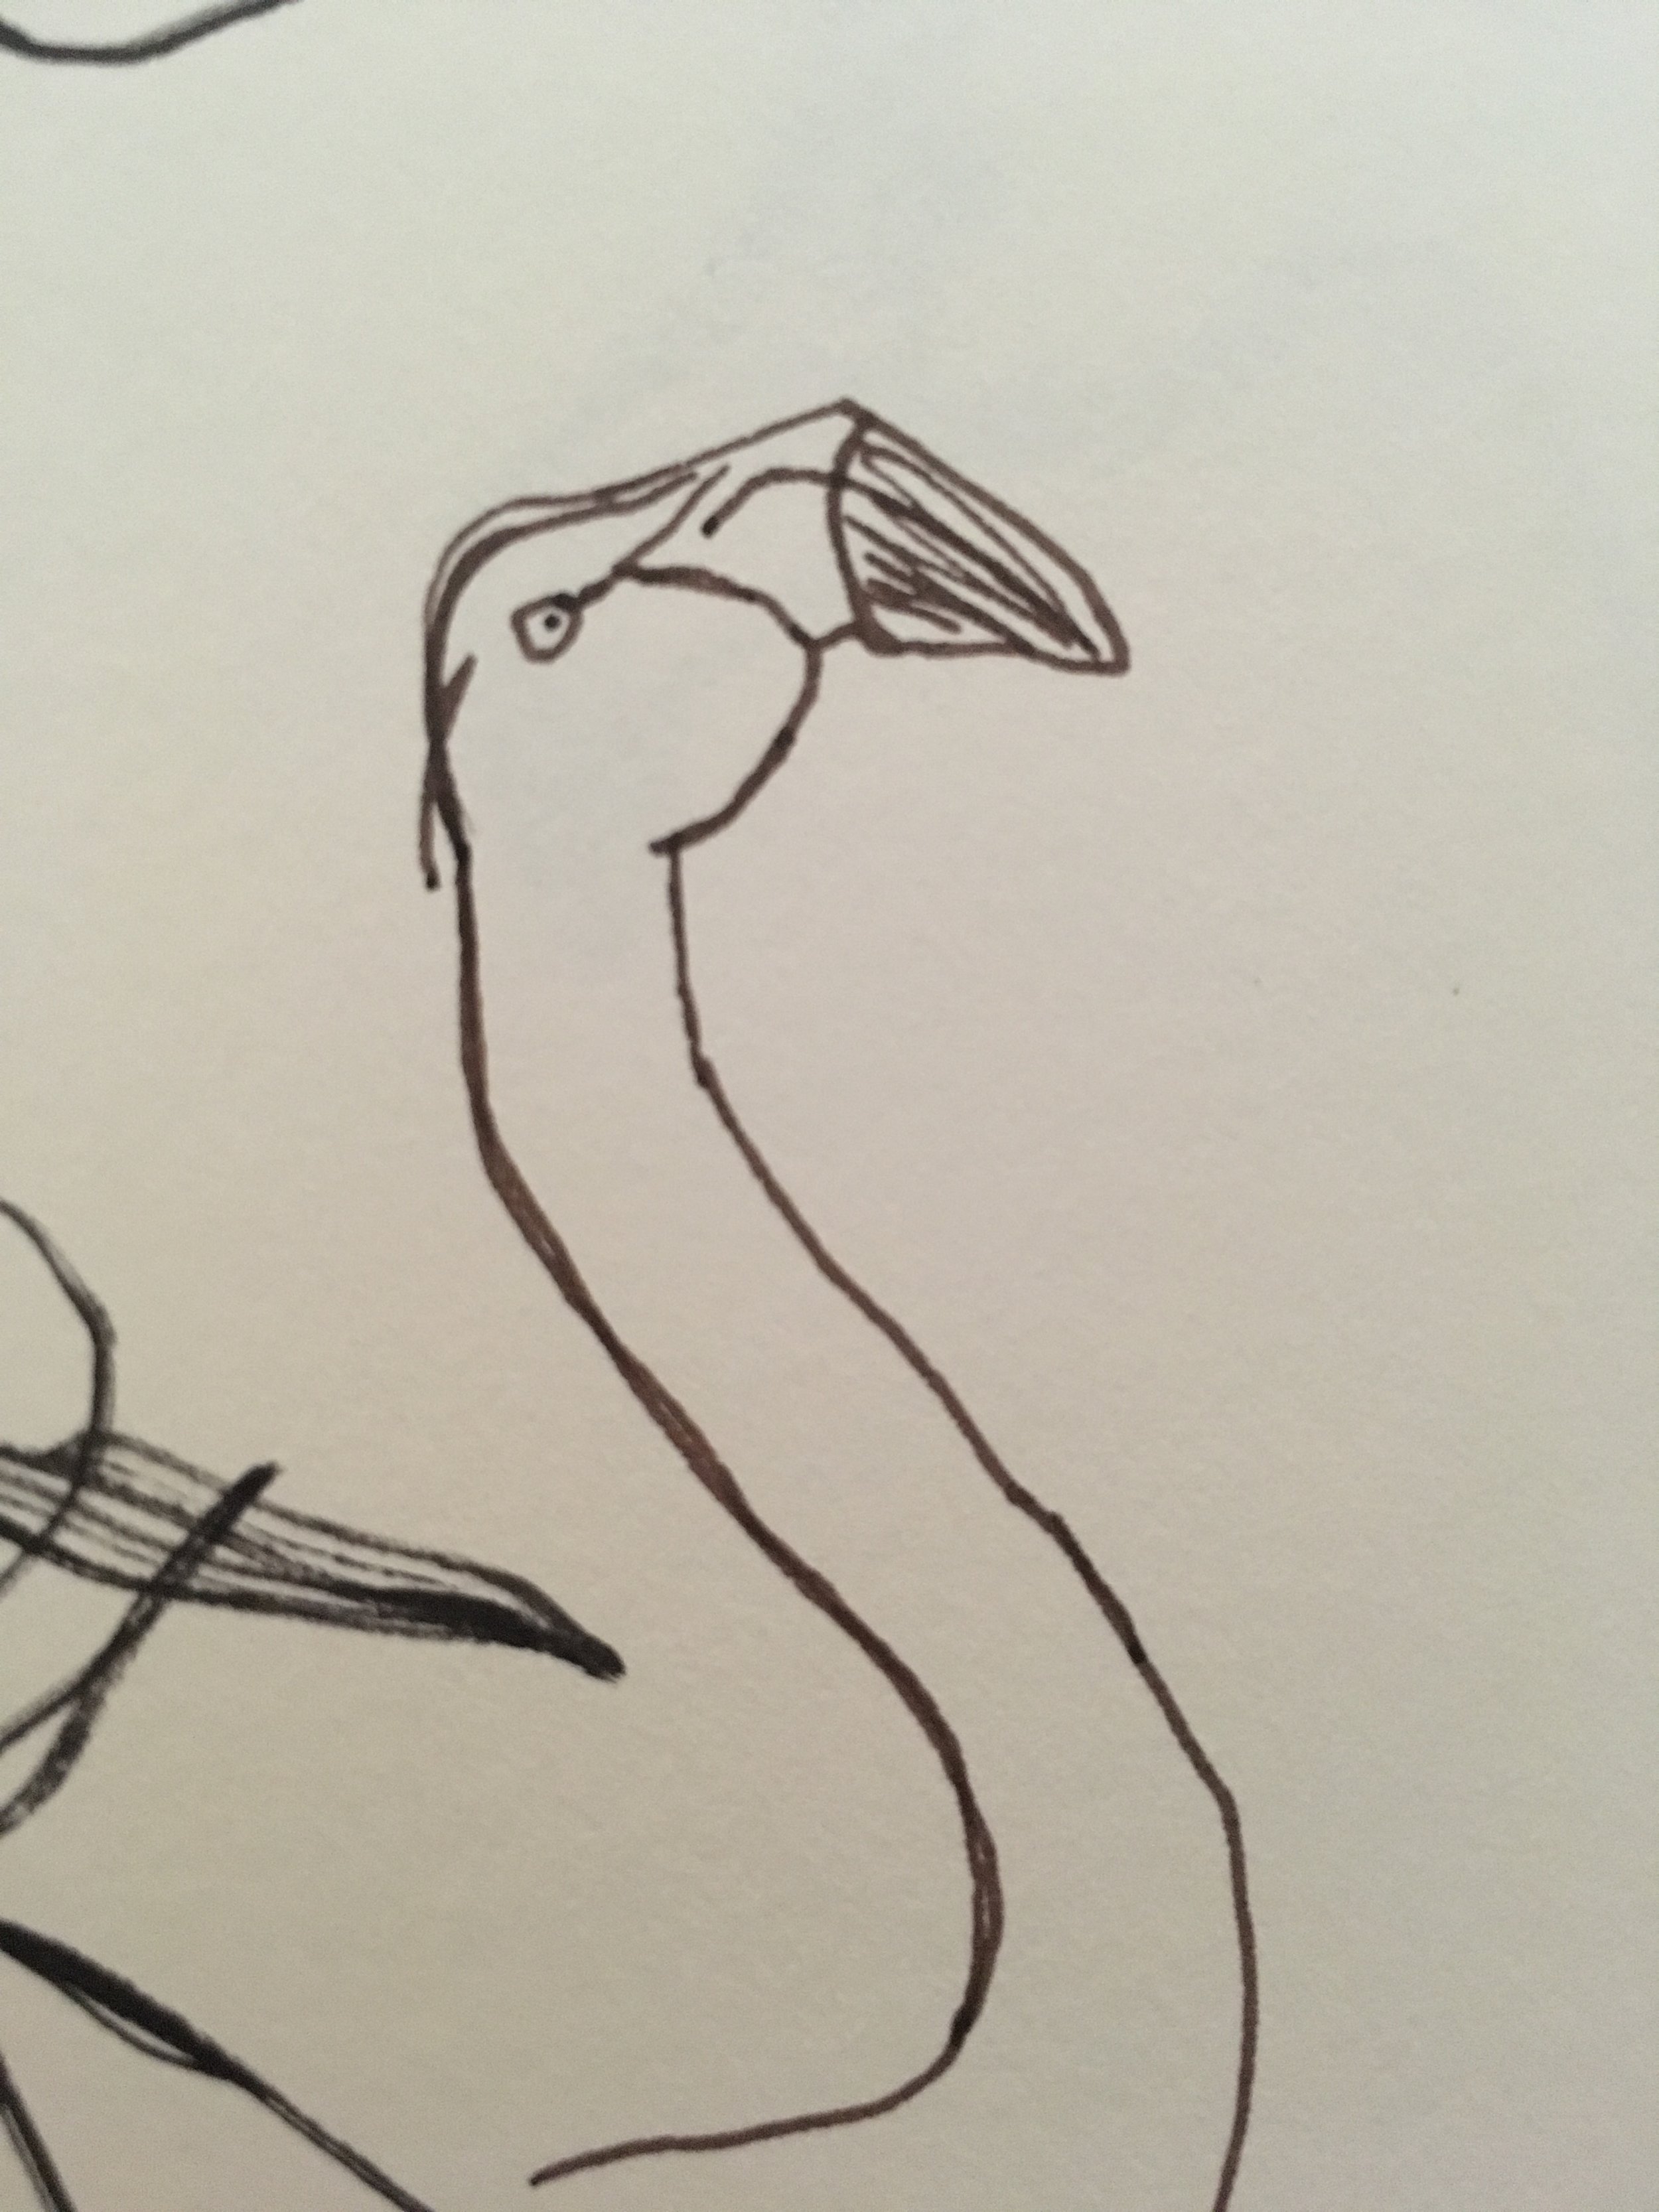
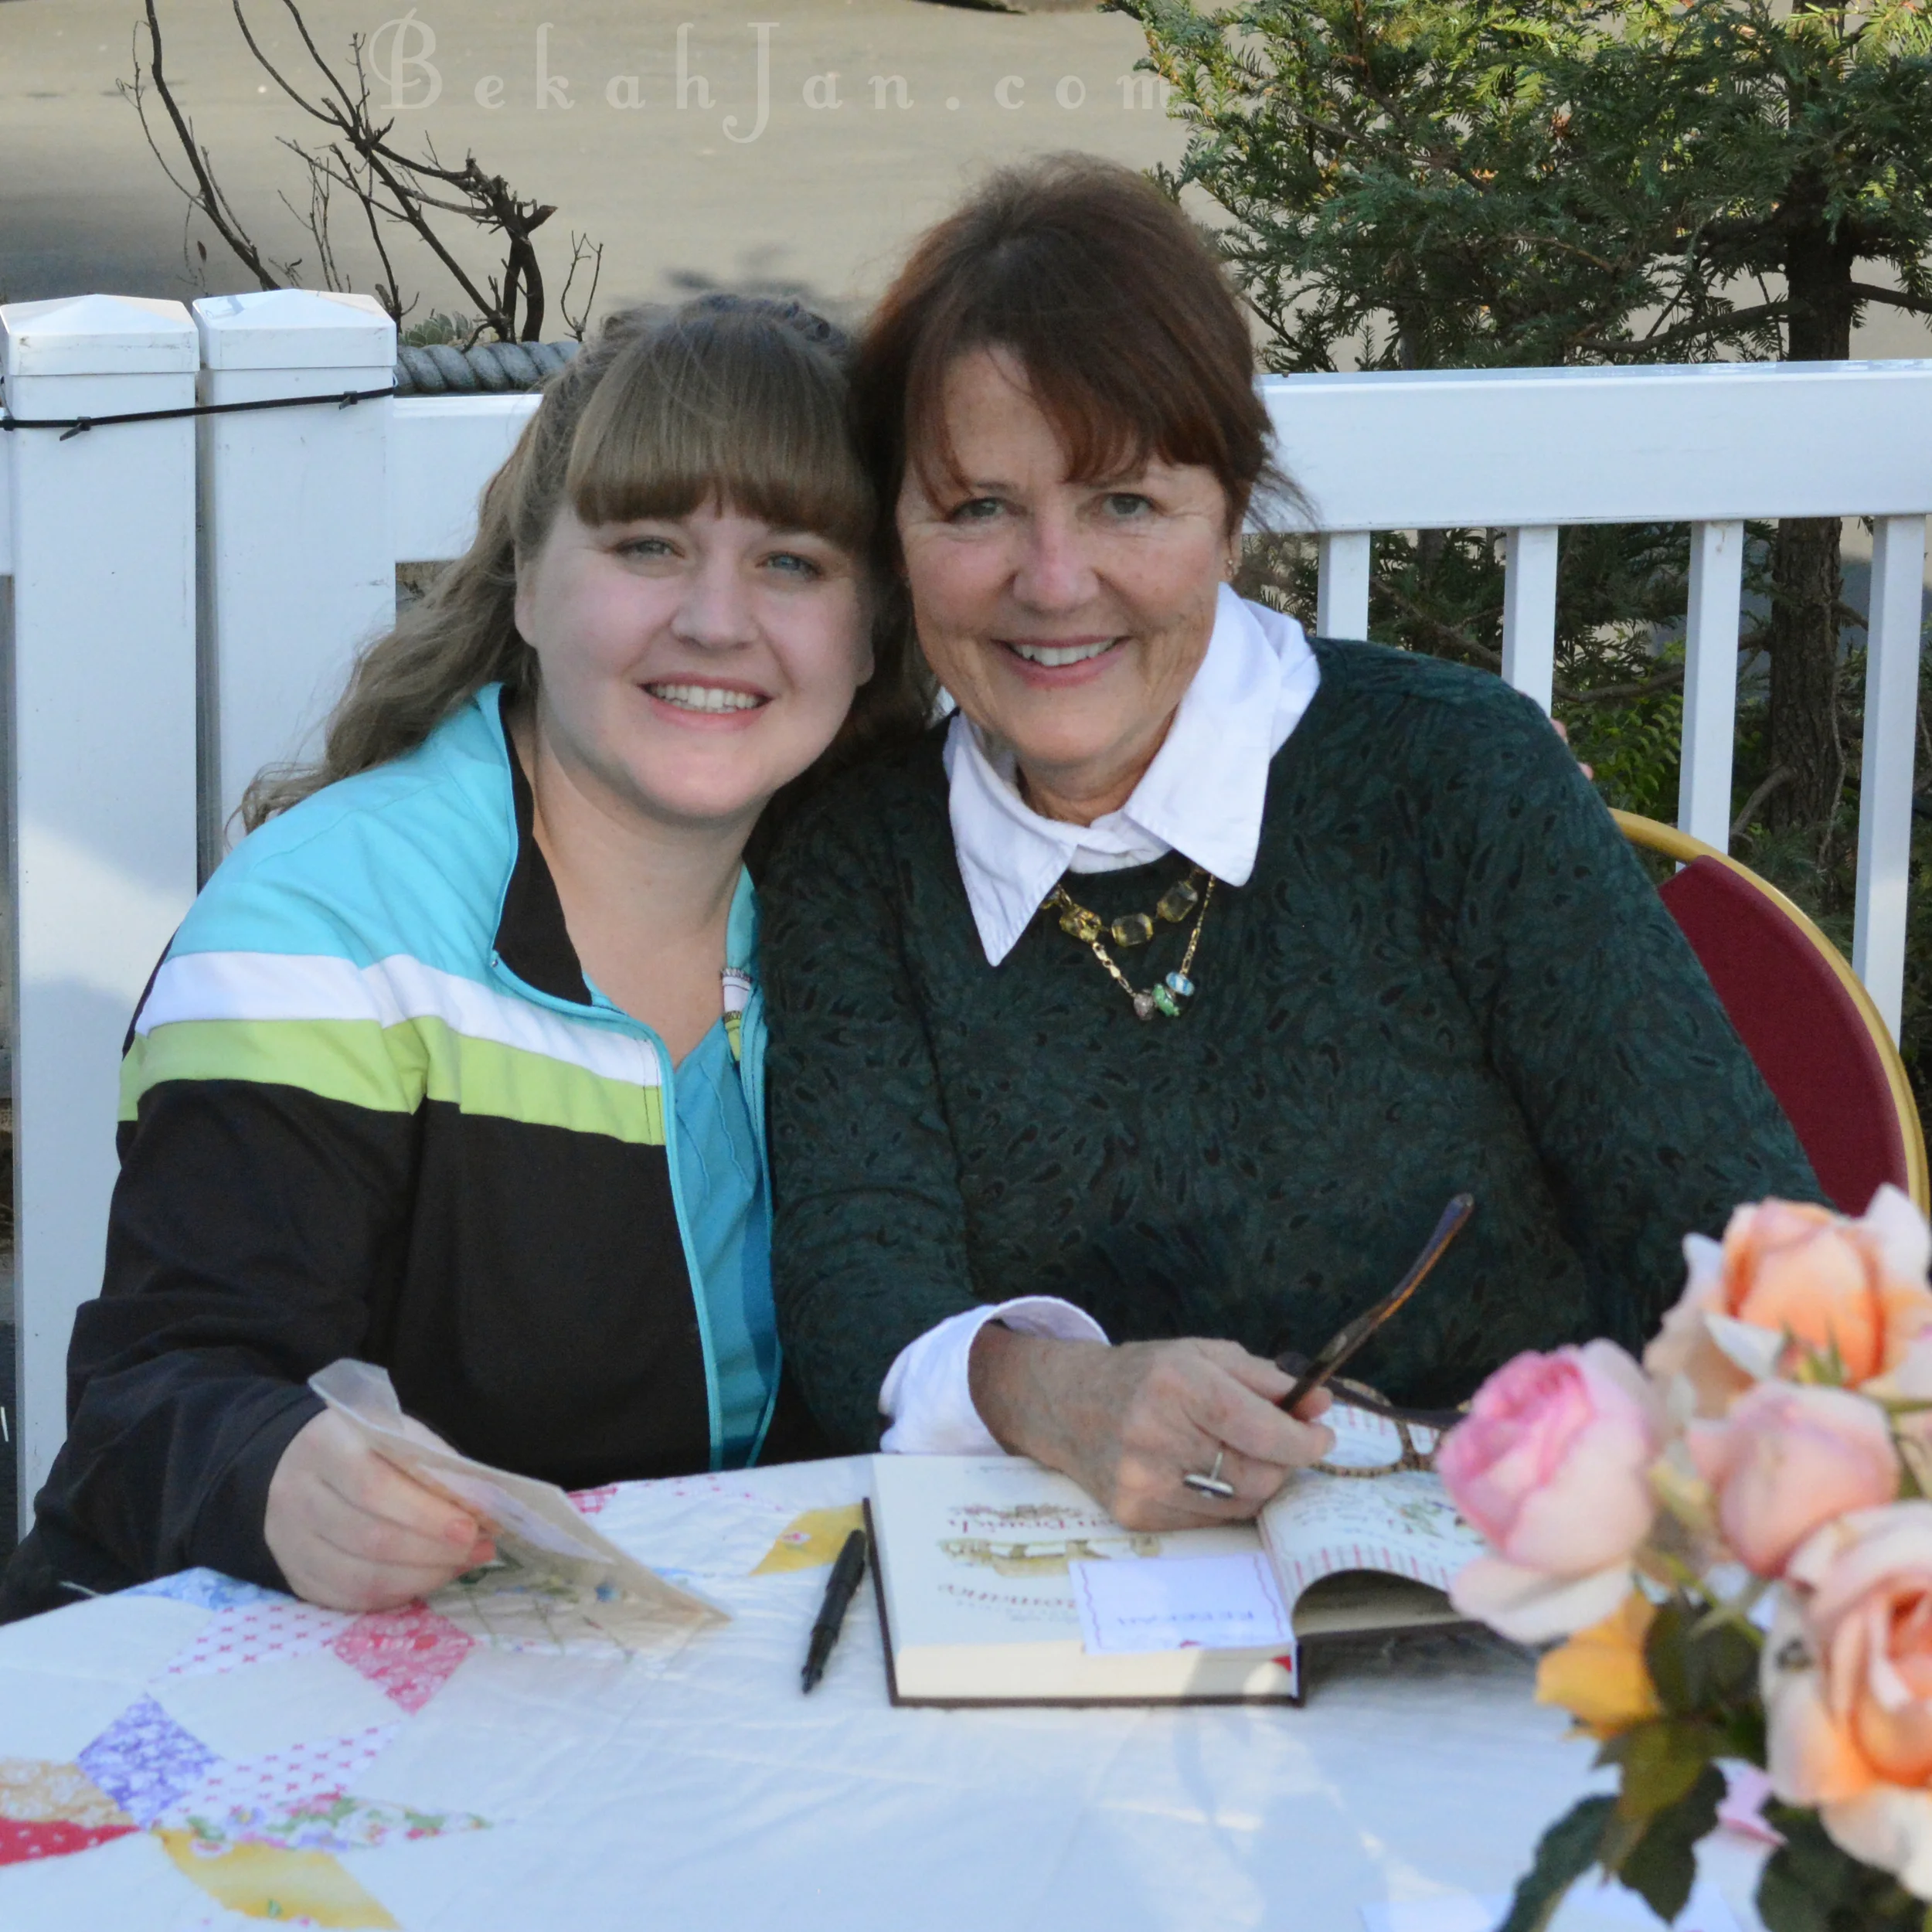
Friday
May042012

The Art Of Wild Abandonment Bloghop

This is my first blog hop and i'm so excited! Welcome gals and thankyou Claire Smillie for hosting such a fun event! If you want to start from the beginning of the blog hop, you can head on over to Claire's blog at: Creativity Rocks. She put together this fun blog hop for all of us. Lets begin!

I was able to take this really amazing class "The Art of Wild Abandonment" by Junelle Jacobsen, which by the way is still open for enrollment and even lasts a whole year! It was an extremely fun class. She taught sketching, art journaling, painting, watercolors, and more. This class taught me to be observant. It taught me how to record my thoughts and feelings through sketching which in turn helped my creativity flourish. I now take my sketchbook with me where ever I go.  

This class isn't about doing exactly what the teacher does. It is about learning what makes us happy through art. It helped me learn to express my joys and feelings through mixed media. If you can dream it, you can journal it.

Do you have a pocket full of dreams? Journal them! It feels great.

You must check out Junelle's blog: Yes and Amen. Her love for little lambies is contagious and her art is to die for. :) I was even blessed to be able purchase her lamb photos for my baby room (to be blogged later). Did I mention I LOVE her blog?

Now, head on over to Michelle Daigle at The Paper Dog. I peeked and her class project inspiration is super cute!

Thanks for stopping by. Have fun at the blog hop.

Tuesday
Oct112011

Minnie Mouse Veil Headband

My best friend's wedding theme was Disney. So I thought it would be fun to make her some Minnie Mouse ears for her bridal shower. That ended up falling through do to lack of time, so I decided to make them for the rehearsal dinner. I was also playing around with the thought of making Mickey Mouse ears for the groom, but decided that would be too hard to accomplish.

In my research, I came across the blog, "The Suburban Mom" that had a cute tutorial for making Minnie ears. Bingo! Awesome tutorial for sure!

I tried changing it up by using ribbon to wrap the head band, but found out felt definitely made a cleaner and easier way since I was using my hot glue gun. I added a bird cage veil and a bow in the wedding color purple. So fun! I think Minnie Mouse would approve.

While in the process of making the Minnie Mouse ears, I went to my local craft store to pick up a few needed items. I decided Mickey Mouse ears would be way too hard and impossible, so I nixed that idea. I mean where in the world would I find a top hat? Then it happened, I randomly came across a small black top hat. There it was looking at me and telling me I'm a wimp for not making an attempt. What is Minnie without Mickey? 

Reasoning with myself, I decided that if I failed no one would know any different. So I decided to give it a go. Not sure how in the world I did it, but it actually turned out pretty good! The ears were the hard part, because I had to shape it to fit the contour of the hat. I ended up not being able to hide the hot glue on the back of the ears, but decided that durability was more important than the back looking perfect. 

I just love it when a plan comes together!

Friday
Sep232011

Hotel Cardmaking

Back in July, I went on a road trip to attend my best friend's bridal Shower. Thinking ahead, I bought her present over a month in advance to try and break the cycle of my procrastination. Wrapping the present and making a card was another story. I am usually very good at finishing projects before I hit the road, but the week before I left was chaotic. I waited until the last minute thinking finding wrapping paper would be easy! Frantically, the day before my trip, I went shopping for the perfect wrapping paper. No where to be found! So as the stores for the day closed, I decided I would just have to shop on the drive down.

On to the card, I picked out stamps, paper, ink and so on and began my card making. Noting the clock striking one am three hours later, I decided I should probably pack up all my crafting and continue the card making process in the hotel the next evening. Thankfully, I remembered everything I needed to finish the card. I did learn one thing though. I am a messy crafter, even in hotel rooms. Note photo below!

But it all worked out in the end like it always does. The party was a success in every aspect. 

Thursday
Sep222011

Wedding Card - Stampin Up

Its just been one of those summers! My apologies for not keeping up with my blogging. I am finally starting to catch up with life and getting back into the swing of things. One thing I told myself, I wont get addicted to card making. However, this summer has been very demanding in my need for cards, which has in turn made me addicted. So I am now in need of a new category on my site that now covers handmade cards. sigh..... the urge was just too hard to fight.

Most of the cards that I make on the Vintage Dreamer will be products by Stampin Up. Six years ago for my wedding, Stampin up became very instrumental in helping me save money by hand making save the date cards, invitations, reception menus and so on. But after my wedding, I faded away from paper crafts.

Enter my brother's wedding reception, I was in desperate need for a certain stampin up paper color and turned to a new new stampin up demonstrator right down the street from my house. The reception was only days away with no time to order the needed paper from the web. She really helped me out of a bind, and I have been stamping ever since, but only when I went to stamp camps. That is until this summer. I have now started stamping in my craft room and cleared space for my new addiction. Just in time for my best friends wedding!

Enter the color purple! I was blessed to be the Matron of Honor and had so much fun crafting for her big day. The first product of my crafting that I will be blogging about is the Wedding present card. I found a photo on the web from "Moons and Stars" as inspiration and changed it around to match the wedding colors. 

Let the stamping begin!

Wednesday
Jun012011

Vintage Snapshots

For all you Vintage Lovers out there, I started a group on flickr titled: Vintage Snapshots. Being into family history, I have been coming across old family photos. Snapshots from the 1940s and 1950s had such character to them. Currently, there are 63 members posting photos from that glamorous era. Below are photos I found from my mother's collection of my grandma. I just adore her hair in this! Such style back then!

Friday
May272011

Free Pattern - Amigurumi Light Bulb

My Light Bulb crochet pattern is finally finished! yay! I decided to make this a free pattern. For the PDF pattern click: HERE

I took the picture yesterday and am thrilled with how it turned out. It was a very blustery day which made it very hard for photographs. Especially since this little guy was hanging. Its a miracle I got a shot at all! 

Eventually, I will have the PDF link in the side bar. But for now you can only download it from this post.

Enjoy!

Monday
May232011

Picnic Ant Pattern Complete

I am very excited to announce that I finally finished writing out my "Amigurumi Picnic Ant" crochet pattern which is now listed in my Etsy Shop. I thought it would never be published as a pattern. It literally has been 2 years since I created this little ant and it feels great to have this project checked off my to do list. Doesn't it feel great to cross out items from those pesky to do lists?

Monday
May022011

Western Railway Museum

Train rides are always fun, especially when its in a vintage train car. I was able to visit the Western Railway Museum in Suisun City last week for a train ride and tour of the museum.

It was a quaint little museum full of rich history. It was definitely a step back in time, if you could ignore the modern telephone lines that lined the valley.

This particular box motor car was built in 1929 and was the car that pulled us back to the station. This was just one of the awesome running trains in the museum.

My favorite train car, which should be of no surprise, was the turquoise and aqua train. This Key System car #352 was built in 1911. The turquoise and cream color scheme on this train was used by the East Bay Street Railways, Ltd. from 1929 through 1936. After World War II, few cars remained turquoise and cream due to the wartime labor shortages.

The history of this car is fascinating to me. This Key 352 was scrapped in 1948 when all East Bay streetcar service ended. A train admirer bought the train car and kept it in his back yard in Berkley for 30 years before he donated it to the Western Railway Museum where it stands today.

I had to take a photo considering our color schemes matched. My husband of course thinks I am crazy because of my longing to put it in my backyard for 30 years. hehe. He just doesn't understand what I would do with a train car. However, I could think of several uses. A tea party in this train would be divine, or perhaps a guest bedroom. HA! I know you think I'm crazy too.

Oh well, a girl can dream cant she?

Here is a photo of our Tour Guide. He was fabulous.

You can find more photos on my flickr album: Outings with a Vintage Twist.